Rotate and straighten an image in GIMP
Choose the right transform target, measure a reliable reference line and finish with a crop that protects the subject.
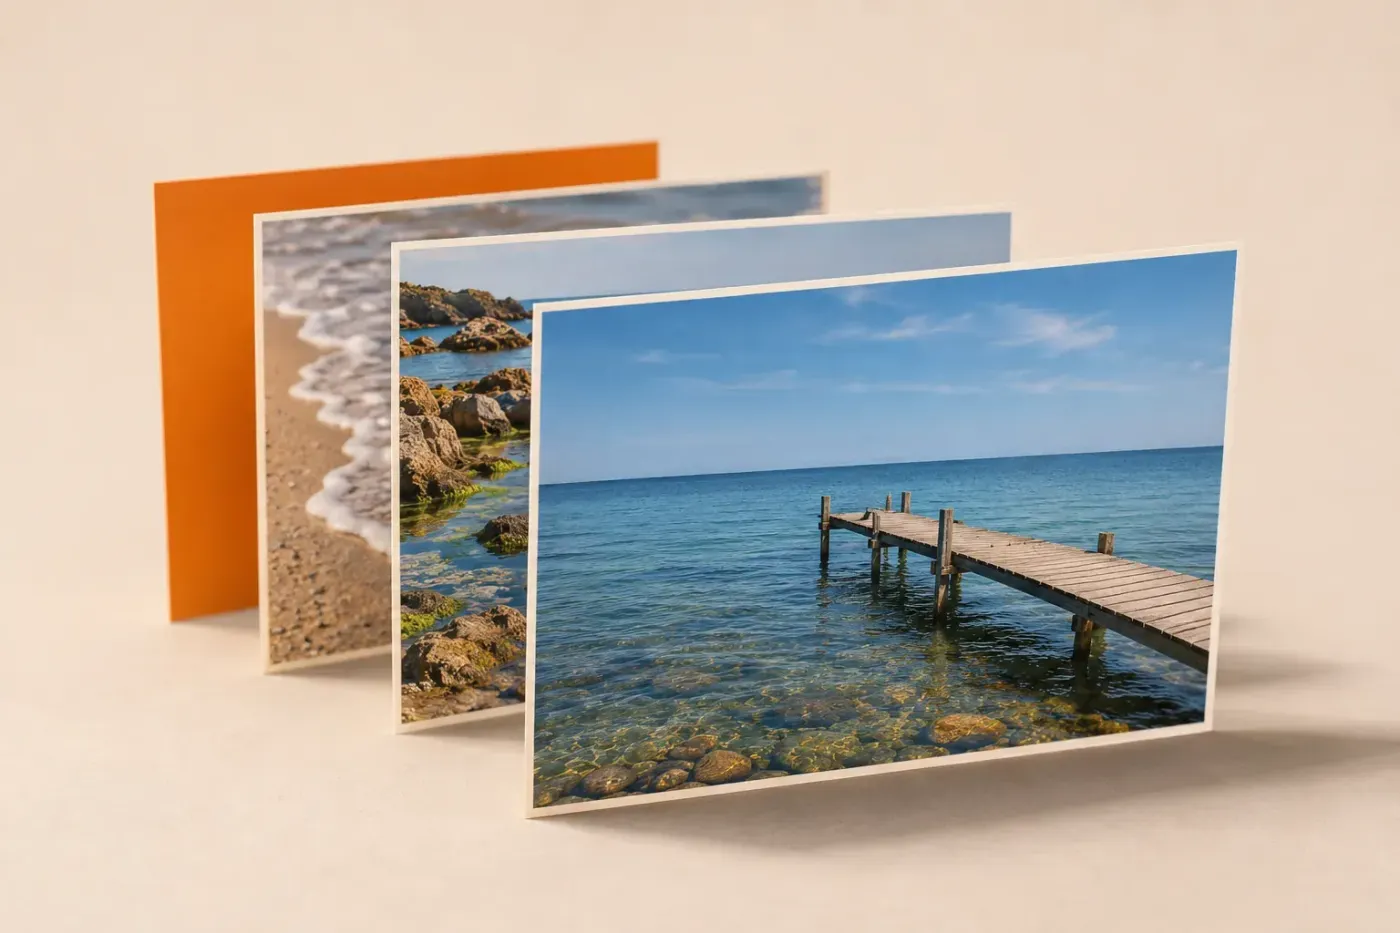
To rotate a sideways image in GIMP, choose Image → Transform → Rotate 90° clockwise or Rotate 90° counter-clockwise. To straighten a tilted horizon, draw along it with Tools → Measure, choose Horizontal and click Straighten. Set the transform target to Image when the entire composition should turn, or Layer for the selected photograph. I'd measure the tilt first and crop afterwards, because correcting the angle and choosing which edges to lose are separate decisions.
Choose what should rotate
A photo layer, the document canvas and the view in GIMP's window can all point in different directions. Choose the route that matches the result you need:
| Your task | Use this route |
|---|---|
| Turn a sideways document, including all layers | Image → Transform, then a 90° or 180° command |
| Turn the whole composition by an arbitrary angle | Rotate tool with Transform: Image |
| Rotate one photo, logo or caption | Select that one layer; use Transform: Layer |
| Level a horizon or upright reference | Measure → Straighten, with the intended Image or Layer target |
| Tilt the workspace for painting, without changing the file | View → Flip & Rotate |
The shared Transform controls include Layer, Selection, Path and Image. Image applies the transform to all layers; you don't need to flatten the composition for a free-angle rotation. The selected target persists when you change tools, so check it rather than trusting the last tool's settings.
Rotate the whole image by 90 or 180 degrees
For a photograph lying on its side, open Image → Transform and choose Rotate 90° clockwise or Rotate 90° counter-clockwise. Choose Rotate 180° for an upside-down image. These whole-image commands turn the canvas and the composition together.
A quarter-turn swaps the document's width and height: for example, a 1200 × 800 image becomes 800 × 1200. A half-turn keeps those dimensions. Use the preset command for this exact job, rather than dragging a free-angle handle and trying to land on 90°.
To turn only one inserted picture, select that layer in the Layers dialog and choose Layer → Transform → Rotate 90° clockwise, its counter-clockwise equivalent or 180°. A layer quarter-turn preserves pixel data, but its corners can extend outside the unchanged canvas. Missing corners in the window don't automatically mean missing pixels; the canvas check below tells those cases apart.
Prepare for a small-angle correction
Save a separate XCF master before straightening. Keep that starting version if the crop, interpolation or lettering may need revision later: XCF files don't store undo history.
Choose Select → None unless you deliberately want to transform a selected patch. With a Layer target, an active selection can make the transform operate on the selected pixels instead of the complete layer. Even a selection around the whole canvas is different from having no selection.
For transparent corners, select the affected photograph layer and choose Layer → Transparency → Add Alpha Channel before the arbitrary-angle rotation. An alpha channel allows layer transparency; if the command is unavailable because that layer already has alpha, continue. For a whole-image correction, check each affected opaque photo or background layer. A layer beneath the photograph can still show through its transparent corners.
If the workspace itself is tilted, first choose View → Flip & Rotate → Reset Flip & Rotate. A level workspace makes the reference easier to judge. This view reset changes the display only; it doesn't undo a rotation applied to the image pixels.
Straighten a tilted horizon with Measure
- Choose Tools → Measure. Open Windows → Dockable Windows → Tool Options if its settings aren't visible, or double-click the Measure icon.
- Under Straighten → Transform, choose Image for the whole composition or Layer for the selected photograph. Select just the intended layer when using Layer.
- Set Orientation: Horizontal for a horizon or a scanned line of text. Use Vertical for a reference that should stand upright.
- Set Clipping: Adjust to retain the rotated extent while deciding the crop. Choose the interpolation before applying the correction; the quality choices below explain the trade-off.
- Drag one measurement line along the tilted reference. Place the endpoints well apart on a genuinely straight section. Don't hold a constraint key while tracing the tilt.
- Zoom in if necessary and drag either endpoint to refine its position. Follow the actual horizon or baseline, rather than the edge of GIMP's window.
- Click Straighten in Tool Options. Drawing the line alone doesn't rotate anything.
- Check the reference and every edge, then choose the crop or background treatment below.
The Measure tool's orientation choices determine which direction becomes level. Auto chooses the smaller correction towards horizontal or vertical. I'd explicitly choose Horizontal for a horizon so the tool doesn't interpret the reference as an upright line.

Use a reliable reference. A sloping roof, hillside or perspective line needn't be horizontal in the finished photograph. For scanned lettering, align the baseline of several letters with flat bottoms; rounded characters and descenders can mislead the measurement. Rotation levels one direction across the image. It won't straighten converging building edges or remove curved lens distortion.
Enter an exact angle or rotate by dragging
Use Rotate when you already know the angle, want a deliberate tilt or need to place a pivot. In GIMP 3 you can use it on the whole Image as well as a Layer.
- Choose Tools → Transform Tools → Rotate, or press Shift+R.
- Set Transform to Image or Layer, then Direction: Normal (Forward). Choose Clipping: Adjust for the initial correction.
- Click the picture to open the rotation dialog. The tool options and the angle dialog are separate controls.
- Enter the required value in Angle, such as 2.5 degrees for a small correction, and inspect the preview. Alternatively, drag the picture to turn it visually.
- Leave the rotation centre in place for an ordinary turn. To rotate around another point, drag the circular crosshair or enter Center X and Center Y.
- Check the angle, target and corners, then click Rotate to commit.
The Rotate dialog accepts angles from −180° to +180° and lets you move the centre outside the image. A displaced pivot can make the object swing out of view. Check the pivot when the result seems to move as much as it turns.
Corrective (Backward) reverses the transform. It is useful when you align the tool's guides with a crooked feature and want GIMP to apply the opposite correction. For a direct numerical rotation, keep Normal (Forward); otherwise the same angle can appear to turn the wrong way. Measure is the clearer route when a visible reference should become level.
Keep the corners, then choose the crop
A rotated rectangle still needs an axis-aligned rectangular canvas. You must either retain space around the picture, crop some edge content, or provide a background. Rotation doesn't create new photographic detail to fill those corners.
With a Layer target and Clipping: Adjust, the layer grows to contain its rotated extent while the document canvas stays the same size. Choose Image → Fit Canvas to Layers to reveal the retained corners. This changes the document dimensions and includes other outlying layer bounds, including hidden layers. Check those layers if the new canvas is much larger than the photograph.
With an Image target, Adjust expands the canvas as part of the transform. You can see that distinction in GIMP's whole-image transform. The result can contain transparent corners; a larger canvas preserves the extent but doesn't make those corners opaque.
The Clipping choices answer a different question from the rotation angle:
- Adjust: retain the rotated extent. For a Layer target, reveal off-canvas parts separately if needed.
- Clip: keep the original target boundary. On a pixel-layer transform this can discard rotated parts outside that boundary; avoid it when you need the corners.
- Crop to result: calculate a rectangle that excludes empty corners introduced by the transform. It can exclude subjects near the edge.
- Crop with aspect: make that automatic crop while retaining the original aspect ratio. The framing can become tighter still.
I prefer Adjust followed by the Crop tool when a face, hand or product edge is close to the border. Choose the framing after the horizon is level, and check all four edges. If the delivery requires an exact canvas, use Image → Canvas Size rather than assuming the rotated result kept its old dimensions.
Fitting the canvas can reveal retained layer content, but it won't recover pixels already removed by a layer Clip or destructive crop. Undo while that action is available, or return to the separate master. A whole-image canvas crop can leave off-canvas layer data in the XCF, so don't treat a smaller visible frame as secure deletion.
Remove black corners without erasing the photograph
If a small-angle turn produces solid black corners instead of transparency, return to the state before that turn. Select the photograph, add its alpha channel and repeat the rotation with Adjust. Adding alpha after black pixels have been created only makes the layer capable of transparency; it doesn't identify those black pixels as empty.
Check the layer stack too. Temporarily hide a lower black background to see whether the photograph's corners are already transparent. If you want a white surround, keep the transparent photo above a separate full-canvas white background. If you want the photograph to fill the entire rectangle, crop within the photograph instead. Erasing every dark area with a colour-based tool risks removing real shadows and details.
Protect detail and lettering
An arbitrary rotation resamples pixel layers. Under Interpolation, LoHalo and NoHalo are the high-quality interpolation choices; compare the edge detail at 100% zoom if the choice matters. I'd try either on photographic work and judge fine hair, diagonal edges and ringing, rather than promise that one is always sharper. None uses the nearest original pixel and can produce stair-step edges; reserve it for cases where retaining a hard pixel grid matters more than smoothing.
Get the angle right in the preview and apply it once. If it needs changing, undo back to the starting point and make the new correction there instead of repeatedly rotating already resampled pixels.
Finish wording and font choices before transforming live text, and keep an untouched text version in the master. GIMP's text-layer handling warns that editing text after a rotation can redraw the layer and discard that rotation. Retaining separate layers avoids flattening everything, but it doesn't guarantee that a transformed caption keeps every edit intact.
Fix a result that still looks wrong
- Only one element turns: choose Transform: Image if the composition should turn together. For Layer, check which layers are selected.
- Only the selection outline turns: the target is Selection. Choose Layer or Image for pixels; choose Select → None before a whole-layer correction.
- “The selection does not intersect with a selected layer”: remove an unintended selection and select the actual photograph layer. Choosing a different clipping mode won't make an unrelated selection overlap it.
- Straighten is disabled: draw a measurement with two distinct endpoints. The button needs a usable reference line.
- The transform won't apply: inspect the selected layer's content and position/size locks. Change only the lock that blocks the intended edit; don't flatten the project as a workaround.
- Only the workspace looks rotated: reset View → Flip & Rotate. Display rotation isn't part of an exported image.
- A building still leans: distinguish camera tilt from perspective. Levelling one edge by rotating the whole picture cannot make every converging edge parallel.
Save the project as XCF and use File → Export As for the finished image; saving and exporting have different purposes. Choose PNG when transparent corners must remain transparent. For a JPEG, crop to a filled rectangle or prepare the intended opaque background before export. Reopen the delivered file and check its orientation, final pixel dimensions, reference line and all four corners.

Elena Morris
Elena Morris is the GIMP image-editing and compositing editor at TheGIMP.net. She writes about selections, masks and layers, restrained retouching, compositing and export.