Crop an image in GIMP to a ratio or exact size
Crop a GIMP image freely, to a ratio or exact pixels. Choose the right layer scope, keep the framing adjustable and verify the exported result.
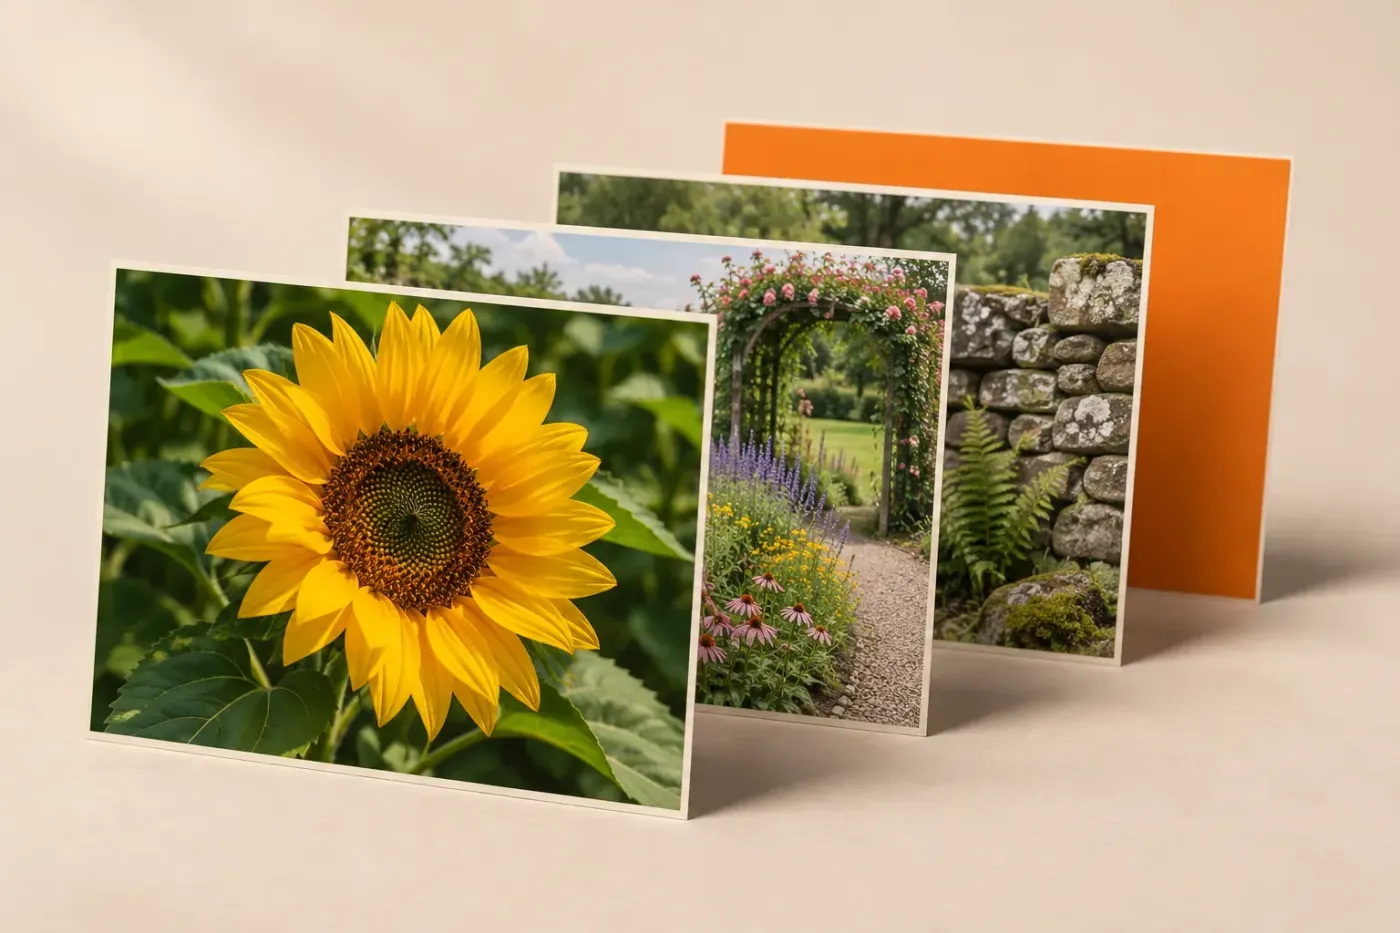
To crop an image in GIMP, press Shift+C, turn off Selected layers only, draw a frame around the area you want and press Enter. Leave Delete cropped pixels off to keep the surrounding layer pixels available for a later change of framing. I'd save an XCF working copy first: it keeps the adjustable project separate from the cropped image you export.
Choose a fixed aspect ratio when the picture must fit a shape, or an exact pixel size when you need to extract a particular-sized region. Those are different jobs. If the whole photograph needs to become smaller while keeping everything in the frame, use Image > Scale Image instead.
Make a free crop without throwing away the original
Keep the original image file and save your working project through File > Save As with an .xcf extension. Use a separate filename for the crop. XCF retains the editable layers; the export is the finished copy you'll share.
- Choose Tools > Transform Tools > Crop, or press Shift+C. Double-click the Crop icon if Tool Options aren't visible.
- Turn off Selected layers only for the whole image. Leave Delete cropped pixels off while deciding on the composition. In GIMP 2.10, the layer-only option is called Current layer only.
- Turn off Fixed to draw freely. Leave Allow Growing off if the crop must stay within the existing picture.
- Drag from one corner of the area you want to the opposite corner. The first rectangle can be rough.
- Move over an edge or corner until its handle becomes active, then drag to adjust it. Drag inside the moving region to reposition the whole frame.
- Press Enter to apply the crop. Press Esc to cancel the pending rectangle instead.
The Crop controls show the current width, height and position, so you can refine the frame numerically before committing it. The darkened area is a preview of what falls outside the frame; it isn't proof that those pixels have been deleted.
I judge the edges before applying the crop: a horizon close to the top border, a clipped hand or a caption squeezed against an edge is easier to correct while the frame is still adjustable. If guides help, choose Rule of thirds in Crop Tool Options. They guide placement without adding lines to the picture.
Crop to a square, portrait or widescreen ratio
Enable Fixed, choose Aspect ratio and type the required width-to-height ratio in the box below it. Drag a corner of the rectangle after changing the value so that the current crop adopts the new proportions. GIMP's fixed-ratio cropping instructions describe this adjustment.
| Required shape | Ratio | What it controls |
|---|---|---|
| Square | 1:1 | Equal width and height |
| Wide frame | 16:9 | Width greater than height |
| Portrait counterpart | 9:16 | Height greater than width |
| Landscape photograph | 3:2 | The same shape as a 1200 × 800 delivery image |
The landscape and portrait buttons beside the ratio switch its orientation. A ratio contains no final pixel requirement: 3000 × 2000 and 1200 × 800 are both 3:2. Make the frame large enough to contain the subject and the detail you need; don't drag it smaller merely to imitate the eventual display size.
For a 1200 × 800 deliverable, I'd crop at 3:2, apply the crop, then choose Image > Scale Image. Keep Width and Height linked, use pixels and set Width to 1200. Check that Height becomes 800 before scaling. Linked image dimensions preserve the proportions. If the retained area is smaller than 1200 × 800, enlargement won't restore the missing detail.
Extract an exact pixel region without scaling
Use Fixed > Size when the requirement is to take an existing region at its original pixel scale. Enter 1200x800, click the picture to place the frame, then move it over the area you want. Confirm the separate Size fields show 1200 and 800 with pixel units before pressing Enter.

This doesn't squeeze the full photograph into 1200 × 800. It retains that many source pixels and excludes the rest of the frame. A 6000-pixel-wide photograph can therefore yield a relatively tight crop at that size. Crop at the required ratio and scale afterwards when you want a wider composition at the same delivery dimensions.
Use Position to set the horizontal and vertical coordinates of the rectangle's upper-left corner. As a calculated example, a 1200 × 800 region starting at X=100 and Y=50 occupies the source rectangle from (100, 50) to (1300, 850). It fits within an image at least 1300 pixels wide and 850 high. The coordinate fields and exact-size behaviour are part of the Crop tool's numeric options.
Leave Allow Growing off for an extraction entirely inside the image. Enabling it allows the rectangle to extend outside the image or layer; empty areas become transparent where no image material exists. A larger crop boundary doesn't create more photograph.
Crop to a selection or remove a plain border
If you've already made a rectangular selection, choose Image > Crop to Selection. The command is disabled when no selection exists. It uses the selection's outer rectangular bounds, including partially selected feathered edges. Use Rectangle Select first if you want to define that region with selection controls.
A circular or irregular selection still gives the document a rectangular boundary. To keep only the selected shape, use the selection to create a layer mask, then crop away surplus outer space if needed and export PNG. Cropping alone won't make the corners around a circle transparent. The background-removal guide covers choosing and refining the cutout.
For a uniform border, Image > Crop to Content searches for the largest surrounding area of the same colour and removes it. It considers the image's layers, rather than simply trimming to the active layer. This automatic border crop is useful for a plain margin. A textured background, faint shadow or uneven scanned edge needs inspection; the command doesn't identify the subject the way a person does.
I'd keep manual framing for photographs with meaningful edge detail. Auto Shrink in Crop Tool Options can tighten a pending frame around a sharply contrasting isolated object; Shrink merged uses the visible layers together. Neither is a substitute for checking the resulting boundary.
Crop one layer while leaving the canvas in place
For this route, select the intended pixel layer in the Layers dialog, activate Crop and enable Selected layers only. Draw the rectangle and press Enter. In GIMP 3, check which layers are highlighted: this option affects the selected layers, so a multi-layer selection broadens the operation.
If GIMP says a non-raster layer must be rasterised, keep the editable text or vector original before converting a copy. A mask is the better starting point when you only need to hide an edge. A layer's content lock can also prevent this operation; unlock only the layer you intend to change.
The document's canvas stays the same size in this mode. Other layers can remain visible around the cropped layer, or the surrounding area can reveal transparency. Don't use this setting when the final image itself must have smaller dimensions.
Keep an original or duplicate before a layer-only crop. The retained-pixel protection described below applies to whole-image canvas cropping; cropping the selected layer resizes that layer's boundary. I wouldn't assume that an unchecked Delete cropped pixels box preserves the discarded part of an individual layer. If you want a reversible cutout inside an unchanged canvas, choose a mask instead.
To make the layer's visible contents smaller without cutting them off, follow the single-layer scaling steps. Layer size, visible subject size and the canvas boundary are separate decisions.
Why you can still see pixels outside a successful crop
With Selected layers only off and Delete cropped pixels off, cropping changes the canvas while keeping the layers' surrounding pixels. GIMP introduced this reversible canvas crop in 2.10.20. Saving the result as XCF retains that editing latitude; an ordinary image export uses the canvas frame.
View > Show All displays retained pixels beyond the canvas. Turn it off when judging the final framing. Those outside-canvas areas aren't included in the exported image. Seeing them in the workspace doesn't mean the crop failed.
To expand the canvas around retained layers again, choose Image > Fit Canvas to Layers. That command fits the canvas to the existing layer bounds; it can't recover pixels that were deleted. With several differently positioned layers, the restored canvas may be larger than the original photograph's frame.
Checking Delete cropped pixels makes a whole-image crop trim the layer content too. Keep the source before using it. I wouldn't enable it just to hide the workspace around a crop: first inspect Show All and the layer-only setting. They explain two different reasons the screen can look larger than the intended output.
Find the cause when the crop looks wrong
| What you see | Check | Next action |
|---|---|---|
| The frame is still adjustable | The operation hasn't been committed | Press Enter with the image active, or Esc to cancel |
| The actual image dimensions haven't changed | Selected layers only | Turn it off and crop the whole image |
| Pixels remain around a smaller canvas | View > Show All | Turn it off to inspect the canvas frame |
| The rectangle won't take the shape you want | Fixed mode and orientation | Disable Fixed, or enter the required ratio and adjust a corner |
| A blank strip appears along an edge | Allow Growing and frame position | Move the crop inside the available pixels |
| A circular selection leaves rectangular corners | Crop changes the outer boundary | Use a mask for the transparent shape, then export PNG |
| The exported file has the old frame | The file you opened and its save location | Export under a new name and reopen that exact file |
Export and check the frame you're sharing
Save the XCF, then choose File > Export As and give the delivery copy a separate filename. Use JPEG for an opaque photograph or PNG when you need transparency. PNG supports an alpha channel; JPEG doesn't preserve transparency.
Reopen that exported file. Check its width and height in pixels, inspect the framing and look at the edges at 100% zoom. A smaller on-screen display alone doesn't prove a smaller image: zoom changes the view without changing image data. For a fixed-size delivery, check both dimensions against the requirement.
If you cropped out an address, face or other private material, share the inspected export. An XCF with retained off-canvas layers can still contain what you meant to remove. Keep the adjustable master for your own revisions and send the finished picture.

Elena Morris
Elena Morris is the GIMP image-editing and compositing editor at TheGIMP.net. She writes about selections, masks and layers, restrained retouching, compositing and export.