Resize an image in GIMP without stretching it
Set the right pixel size without stretching the subject. Work through exact upload boxes, crop or border choices, print resolution and file-size limits.
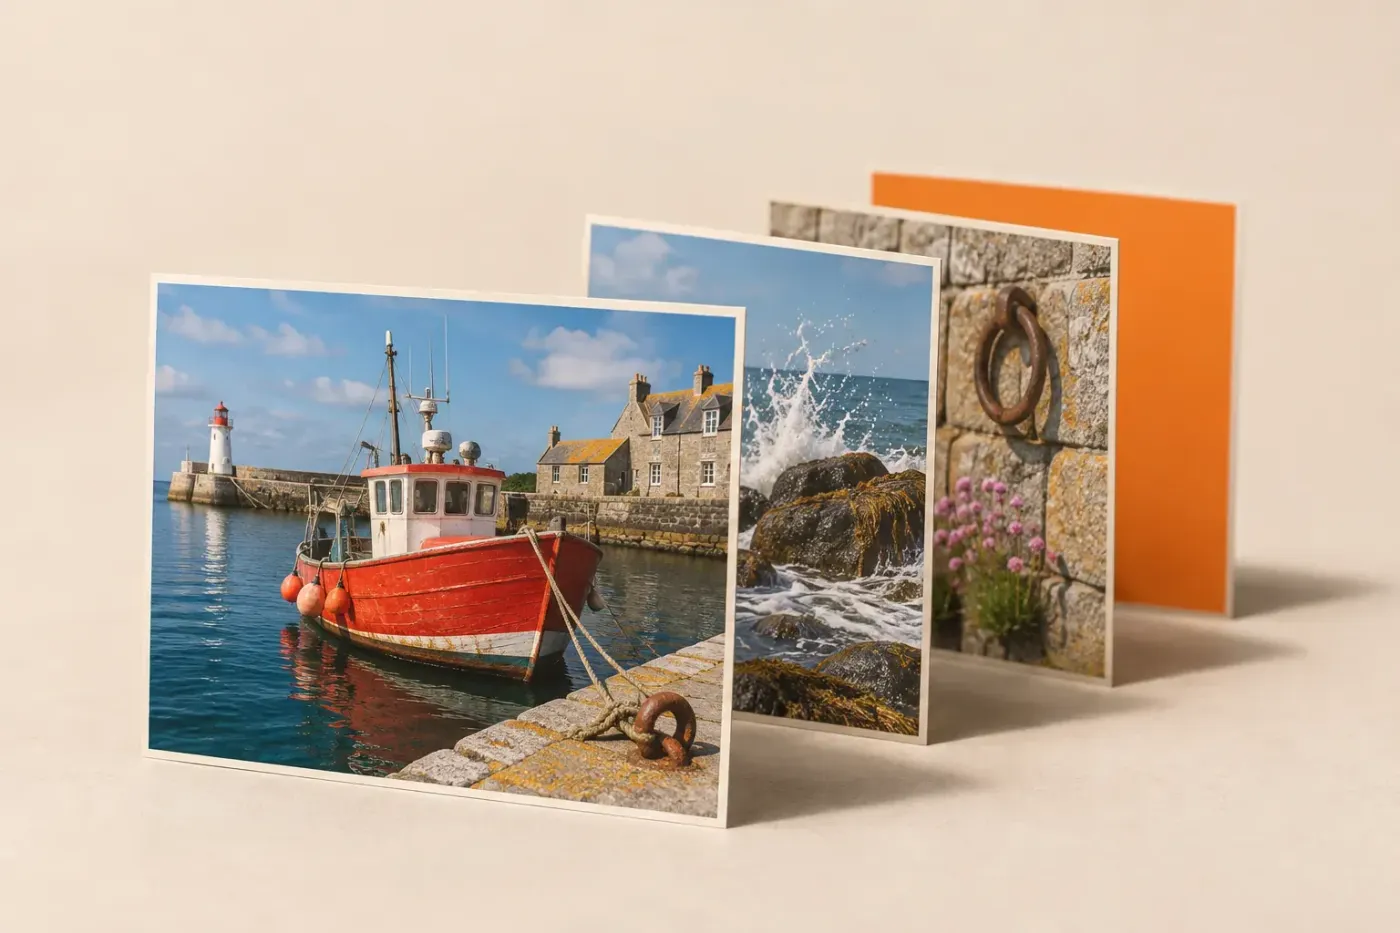
To resize the whole picture in GIMP, choose Image > Scale Image, keep the width and height chain linked, set the unit to px and enter the required width or height. Click Scale, then use File > Export As to create the delivery file. If the requested shape differs from your picture, crop the framing or add space around it before export. I'd keep a full-size original: a smaller export is easy to make again, but enlarging it later won't restore the detail you've removed.
Choose the command that matches the requirement
“Make it smaller” can mean fewer pixels, a smaller print or a file that fits an upload limit. Read the destination's requirement first. A request for 1200 pixels wide is different from under 500 KB, and neither means changing the zoom level.
| What needs to change | Use | What it does |
|---|---|---|
| The entire composition's pixel dimensions | Image > Scale Image | Resamples the image contents and changes the canvas with them |
| One photograph or logo within a composition | Layer > Scale Layer | Changes that layer; leaves the canvas size alone |
| The framing or aspect ratio | Crop, or Image > Crop to Selection | Chooses which area of the picture is included |
| Space around the existing picture | Image > Canvas Size | Changes the bounds without scaling the picture's pixels |
| Printed inches or centimetres without resampling | Image > Print Size | Changes the relationship between pixels and printed size |
| The exported file's byte size | Export settings, then inspect the file | Changes encoding or compression; dimensions are a separate constraint |
Scale Image operates on the entire image and its canvas, including a composition built from several layers. You don't need to flatten the project first. Zoom changes only the display, so fitting a large image into the window doesn't make its exported dimensions smaller.
Set an exact pixel width, height or percentage
- Open the image with File > Open. Preserve the source file; if you're working with layers, save a separate full-size XCF before scaling.
- Choose Image > Scale Image. Read the current Width and Height, then set their unit to px.
- Keep the chain beside Width and Height linked. Enter the dimension the destination specifies, then move focus to the other field so you can check the calculated value.
- Choose the interpolation method for the image content, as explained below, and click Scale.
- Inspect fine edges and lettering at 100% zoom, then look at the whole composition at its intended display size.

With the chain linked, changing a 4000 × 3000 picture to 1200 pixels wide produces 1200 × 900. To express the same change as a percentage, choose percent in the dimensions unit menu and enter 30. The Scale Image dialog supports both pixel and percentage dimensions.
That example retains 30% of each dimension, so it has 9% of the original pixel count. It doesn't promise a file that is 9% of the original byte size: image content, format, metadata and compression affect that separately.
If the height doesn't match the required value, stop before breaking the chain. A different ratio needs a framing decision. Unlinking a 4:3 photo and entering square dimensions squeezes or stretches the subject.
Fit an upload box without stretching the subject
Check whether the destination gives maximum dimensions or demands an exact width and height. “At most 1200 × 1200” usually allows a 1200 × 900 image; “exactly 1080 × 1080” requires a square output. Follow any minimum-size condition too.
Keep the whole picture inside maximum dimensions
For a linked proportional resize, the scale factor is the smaller of maximum width ÷ current width and maximum height ÷ current height. This keeps both dimensions within their limits.
For example, a 4000 × 3000 landscape photo inside a 1200 × 800 box is limited by height: 800 ÷ 3000 is smaller than 1200 ÷ 4000. Enter 800 in Height with the chain linked; the rounded width is about 1067. Entering 1200 in Width instead would leave a 900-pixel height, which exceeds the limit. Check the final integer dimensions GIMP shows.
If both calculated scale factors are above 1 and the destination only sets a maximum, you can keep the smaller original. There's no benefit in enlarging it merely to reach that maximum.
Fill an exact rectangle by choosing a crop
For a square output, choose the framing before the final resize. One explicit route is:
- Choose Tools > Selection Tools > Rectangle Select, or press R. Double-click its tool icon to open Tool Options.
- Use Replace mode, turn off Feather edges and Rounded corners, then enable Fixed with Aspect ratio set to 1:1.
- Draw and position the square around the subject. Press Enter to finish adjusting the selection.
- Choose Image > Crop to Selection, then Select > None.
- Use Image > Scale Image with linked dimensions to enter the final square size, such as 1080 × 1080.
The Rectangle Select controls fix the ratio; Crop to Selection crops the image to that selection's bounds. A feathered selection can extend those bounds, which is why the clean rectangular settings matter here. Use another required ratio, such as 3:2, in the same way. The full cropping guide covers framing and Crop tool options.
Keep every edge by adding space
If the complete original must remain visible, scale it to fit inside the exact output, then enlarge the canvas. A 4000 × 3000 image becomes 1080 × 810 at a width of 1080. A 1080 × 1080 canvas then adds 270 pixels vertically, or 135 above and below when centred.
Choose Image > Canvas Size, unlink that dialog's dimensions so you can enter the required square, leave Resize layers at None, click Center and then Resize. This changes the canvas bounds while leaving the layer pixels unchanged. The new space is transparent where no layer covers it. For solid borders, add a canvas-sized background layer, fill it with the required colour and put it below the picture.
I'd use this route for a diagram whose outer labels must survive. Cropping is the better choice when the framing can change and the destination needs an edge-to-edge picture. A border only helps if the destination accepts it.
Choose interpolation for the content, then inspect it
Interpolation decides how GIMP calculates the output pixels. Cubic is a useful starting point for an ordinary photograph, but it isn't a guarantee of the best result. Compare a copy using LoHalo or NoHalo if fine texture, coloured edges or skin tones look wrong.
The interpolation reference gives content-dependent advice, including sampler developer Nicolas Robidoux's recommendations. Its general summary and the detailed note favour different starting choices for some reductions. I'd compare the actual edge or texture that matters rather than treat one sampler as the winner for every image.
For pixel art, choose None, the nearest-neighbour method, when you want hard pixel blocks without blended colours. An integer enlargement, such as doubling both dimensions, repeats those blocks evenly. Arbitrary fractional scaling can make their widths uneven even without smoothing.
Enlarging a raster image creates calculated pixels; it doesn't add detail missing from the source. Sharpening may change the appearance of an edge, but it won't recover unreadable lettering. Return to a larger source when one exists, and make each output from that source rather than enlarging a previously reduced copy.
Change print size without confusing it with pixels
For an upload measured in pixels, changing 72 to 300 in a resolution field doesn't satisfy the width or height requirement. For printing, choose Image > Print Size: this adjusts physical dimensions and resolution without resampling the image.
The calculation is printed inches = pixels ÷ pixels per inch. A 3600 × 2400 image prints at 12 × 8 inches at 300 ppi, or 24 × 16 inches at 150 ppi. Both settings use the same pixels. The larger print spreads them over more paper; the resolution number doesn't manufacture extra detail.
Check the unit beside X and Y resolution. Imported images can use pixels/mm, so a bare value of 300 isn't necessarily 300 pixels/in. Printer dots per inch describe a different part of the process. Use the print provider's requested dimensions and resolution rather than assuming every job needs the same setting.
Export a copy that meets the actual file limit
Save the project as XCF when you need its layers again, then choose File > Export As, enter a new filename and choose the delivery format. The Export As dialog selects the format from the filename or file-type list. Complete the following format-options dialog too; saving an XCF alone hasn't created the JPEG or PNG the destination expects.
Use JPEG for a photograph with a solid background when it's accepted. Use PNG when transparency must survive; JPEG doesn't support transparency. Keep the background layer's visibility in mind: a visible solid layer behind a cutout will appear in the export. The transparency workflow explains that check.
If the image meets the pixel limit but exceeds the byte limit, adjust the export. For JPEG, enable Show preview in image window and lower Quality while inspecting fine edges. Its file-size estimate excludes metadata, so verify the completed file's size on disk before uploading. No single Quality value guarantees 500 KB for every photograph.
PNG's compression level is lossless; increasing it doesn't trade away image detail as JPEG Quality does. It may still leave a detailed photograph larger than the limit. Use a permitted format and, if the destination allows it, reduce dimensions further from the original project. Don't remove a needed colour profile merely to chase a small byte saving.
Check the exported file, and recognise misleading results
Reopen the export as a separate image. Confirm its pixel dimensions, byte size and expected transparency, then inspect the delivered edges and text. Looking only at the still-open XCF can miss an export mistake. Use a descriptive new name so you don't accidentally upload the untouched original.
If only one object became smaller or a large empty border remains, check whether you used Layer > Scale Layer or the Scale tool with a layer target. A resolved forum question traced the opposite problem to Transform being set to Image instead of Layer. That setting changes the scope of the tool. For an exact whole-composition resize, return to Image > Scale Image instead of compensating with an automatic crop.
Read warnings before accepting a large change. A severe whole-image reduction can shrink a tiny layer below one pixel; a very large enlargement can exceed available resources. Both cases are described in the Scale Image warnings. Keep the full-size project and inspect small captions or marks before accepting the output.
Once the reopened file meets the required dimensions and size, and its edges remain useful at the delivery scale, the resize is finished. Keep that export alongside the original or full-size XCF so the next size request starts with the best available pixels.

Elena Morris
Elena Morris is the GIMP image-editing and compositing editor at TheGIMP.net. She writes about selections, masks and layers, restrained retouching, compositing and export.