Make a background transparent in GIMP and keep it when you export
Add an alpha channel, remove the background on the active layer and export a PNG. Check white erasing, visible lower layers and export settings before you call the cutout finished.
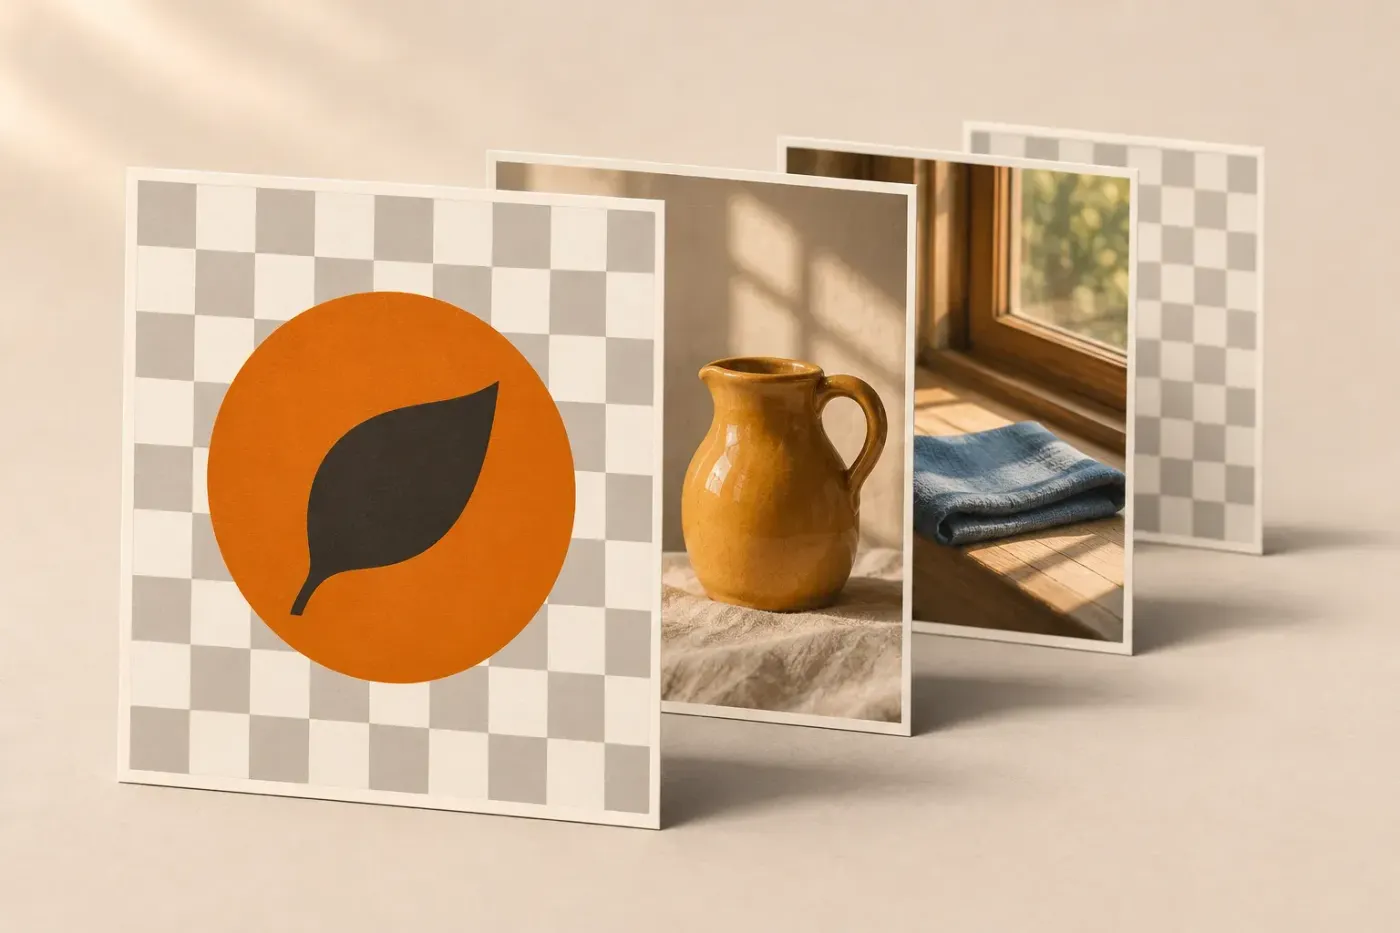
To make a background transparent in GIMP, select the picture layer, add alpha through Layer > Transparency > Add Alpha Channel, select the unwanted background and choose Edit > Clear. Hide any solid layers underneath, then use File > Export As… to create a PNG with alpha. I'd keep a layer mask for an edge you expect to revise, because it lets you hide the backdrop without discarding the original boundary.
Adding alpha only makes transparency possible. White pixels stay white until you remove or hide them, and a PNG extension alone doesn't prove that the background is empty. The final check is to reopen the exported PNG and put a contrasting fill underneath it.
Prepare the picture layer before removing anything
These paths follow GIMP 3.2. Open the photo or logo with File > Open; a JPEG is a perfectly usable starting image even though JPEG cannot carry the finished transparency. Keep that original file, then use File > Save As… to save an editable cutout.xcf project before clearing pixels.
- Open Windows > Dockable Dialogs > Layers. Select only the picture layer you want to change. If it has a mask, click the picture thumbnail when following the Clear or Color to Alpha instructions.
- Choose Select > None to remove an old selection. Later, you'll make a fresh background selection deliberately.
- Choose Layer > Transparency > Add Alpha Channel, or right-click that layer and use the same command. A bold layer name means it has no alpha channel. If the command is greyed out on this picture layer, alpha is already present.
Without alpha, Clear fills the removed area with the Toolbox background colour, which may be white, black or another colour. If you've already made an unwanted solid stroke, undo it before continuing. Adding alpha afterwards won't identify that stroke and remove it for you.

Choose the route that protects the subject
| What you have | Use | What needs protecting |
|---|---|---|
| A flat outside backdrop, with the same colour inside the subject | Fuzzy Select on the backdrop, then Clear or a mask. | Keep interior lettering, highlights and white clothing out of the background selection. |
| One unwanted colour in several separate areas | By Color Select, then inspect every selected region. | Matching colours inside the subject will be selected too. |
| A flat colour mixed into soft edges or a shadow | Color to Alpha, restricted to the necessary area. | Pale details can become translucent along with the backdrop. |
| Hair, fur or a busy photographic background | A subject selection refined with a layer mask. | A colour threshold alone can't reliably separate overlapping foreground and background colours. |
The simple-background steps below take you through the file export as well as the cutout. For a complex subject, use the fuller background-removal workflow; for ink on uneven paper, follow the white-background and scanned-paper guide.
Select a simple background and clear it
Use Tools > Selection Tools > Fuzzy Select, or press U when you aren't typing in a field. It selects connected regions of similar colour. This makes it a useful first choice for removing white around a logo while preserving a separate white detail inside it.
- In Tool Options, leave Sample merged off to sample this picture layer. Start with Replace mode and click the outside backdrop.
- Inspect the selection boundary around the subject. Raise Threshold if too little background is included; lower it if the selection spills into the subject. Select again after adjusting it.
- Switch to Add mode in Tool Options and click separate background islands, such as the space inside a letter. Check that each really is background. Use Subtract mode to take an accidentally included subject detail back out.
- With the background selected, choose Edit > Clear. If you selected the subject instead, choose Select > Invert first. Clear with no selection removes the whole active layer's contents.
- Choose Select > None. Hide any opaque layers beneath the picture so you can see the empty area rather than another layer's colour.
For a colour that should disappear wherever it occurs, Tools > Selection Tools > By Color Select selects similar pixels regardless of their location. Inspect the subject before clearing: a white backdrop and white lettering are the same colour to this tool.
Clearing the background leaves the canvas width and height unchanged. You don't need to crop or scale the image to get transparency. Keep that empty margin if the cutout must retain its original position or dimensions.
Keep the boundary editable with a mask
For a cutout that may need another round of edge work, I'd use the selection to make a mask instead of choosing Clear. Begin before deleting the background; a new white mask cannot reconstruct pixels or transparency you've already changed.
- Keep the unwanted background selected. Choose Layer > Mask > Add Layer Masks….
- Under Initialize Layer Mask to, choose Selection, enable Invert Mask and click Add. Selection normally keeps the selected region visible; inversion makes this background selection hidden. If you selected the subject, leave Invert Mask off.
- Choose Select > None. Click the mask thumbnail beside the picture thumbnail, then use the Paintbrush: black hides more of the layer; white reveals it again.
- Keep the mask in the XCF project. You don't have to apply it before exporting a PNG.
GIMP's Selection and Invert Mask options determine which side stays visible. The active thumbnail has a white border; the layer-mask guide covers finer brush corrections and mask troubleshooting.
Use Color to Alpha for mixed edge colour
A cutout can have a pale fringe even after the main background has gone. Edge pixels may contain a mixture of subject and backdrop colour. Color to Alpha changes colour and transparency together, which can preserve a soft transition or a translucent shadow more naturally than clearing the entire edge.
- Work on the picture thumbnail of the alpha-enabled layer. If the chosen colour appears in details you need to keep, select only the background and the affected edge area first.
- Choose Colors > Color to Alpha…. Turn Preview off, pick the original backdrop colour with the eyedropper beside Color, then turn Preview back on.
- Inspect both the edge and the subject. White details can disappear; grey artwork on white can become partly transparent. Cancel if the separation is wrong, then restrict the selection or use a mask.
- Leave Merge filter off to keep the effect adjustable, then click OK. Save the project as XCF.
Editable layer effects are retained in XCF and rendered into exports. Merging the filter isn't a requirement for transparent PNG output.
If grey artwork becomes translucent, lower Opacity threshold until those details stay opaque. Raising Transparency threshold makes colours close to the sampled backdrop fully transparent, which can help with a slightly uneven background colour. The two thresholds control different ends of the transition; check the subject and its edge as you adjust them. Neither can distinguish a white feature from an identical white backdrop, so keep that feature outside the selection.
If a narrow rim remains, undo the removal and select the background again. Use Select > Grow… to expand that selection before repeating Clear or Color to Alpha. A small adjustment can include missed edge pixels, but growing a background selection too far eats into the subject. There's no pixel amount that fits every resolution. Automatic feathering isn't a cure either: it softens the boundary and can turn crisp lettering or a logo into a blurred edge.
Inspect the edge over dark and light fills
The checkerboard can conceal a fringe. Check the cutout against black and white, then against its intended destination colour. I'd judge the edge at its final display size as well as zoomed in; a damaged silhouette is more important than making every enlarged pixel look smooth.
- Set the Toolbox foreground colour to black. Choose Layer > New Layer…, name it dark check and set Fill With to Foreground color.
- Place it below the picture using Lower layer in the Layers dock. Hide other solid backing layers. The dark fill must be directly visible through the cutout.
- Create a second layer called light check, with Fill With set to White, and place it beneath the picture too. Toggle the check layers' eye icons to inspect one fill at a time.
- Correct the edge on the mask, or undo and refine the removal on the picture layer. Then hide both check layers before exporting.
The New Layer fill choices provide those test backgrounds. Don't leave a visible original copy below your masked cutout: it will show the very backdrop you're trying to hide.

For a few stray pixels, use the Eraser carefully
On an alpha-enabled picture layer, choose Tools > Paint Tools > Eraser. For complete removal, set its Opacity to 100% and enable Hard edge; Hard edge avoids partial erasure along the brush stroke. A hard removal suits an isolated speck, but it can damage a soft shadow or hair boundary. Paint on the mask when you want an adjustable correction.
If the Eraser does nothing, check Select > None, the selected thumbnail and the layer locks. Lock pixels blocks brush edits; Lock alpha channel prevents changes to transparency. Turn off the relevant lock before continuing. For a stroke that paints white, check alpha first; the Eraser troubleshooting guide follows that symptom in more detail.
Export a PNG and verify the actual file
Save cutout.xcf with the layers and mask, then choose File > Export As… and name the delivery file cutout.png. I'd use PNG for a cutout moving between applications because it supports soft alpha edges and lossless compression. Exporting doesn't require flattening the project first.
- Confirm that all solid backing and check layers are hidden. Click Export.
- In the PNG options, keep a Pixel format with alpha. For an ordinary colour cutout, use RGB with alpha rather than RGB without alpha. The PNG Pixel format options explicitly allow either; Compression level changes compression effort rather than introducing JPEG-style quality loss.
- Finish exporting. Open the exported PNG as a separate image in GIMP, then add a contrasting fill layer below it. Check that the fill shows through the empty area and any intended soft edge.
- Open the destination image and choose File > Open as Layers… to bring in the PNG. Check its edge there too.
A grey checkerboard printed into a downloaded image is ordinary picture content. If those squares stay visible above the contrasting layer, they aren't transparency. Remove or mask that actual pattern, or return to a source file with real alpha; renaming it to PNG won't remove it.
If the background returns after export
| What you see | Check and fix |
|---|---|
| A .jpg or .jpeg file | JPEG cannot store transparency. Use Export As to create a new PNG; changing the filename extension doesn't convert the contents. |
| A solid background in the reopened PNG | Check for a visible Background, original copy or check layer in the XCF, then export again with an alpha-capable Pixel format. |
| Transparency disappeared after Flatten Image | Flatten Image removes alpha and fills fully empty areas with the background colour. Undo it while possible, or reopen the layered XCF. |
| White or black only in a viewer | Test the PNG over a fill in GIMP. If the fill shows through, the file has transparency and that viewer is supplying a display background. |
| The PNG works in GIMP, but a shared copy becomes solid | Check the exact file received at the destination and its format. Return to the exported PNG if a sharing or import step converted or flattened it. |
| Grey squares remain over the test fill | The checkerboard is baked into the picture. An alpha channel can exist alongside those opaque squares; remove the pattern itself. |
WebP can also carry transparency. If your destination accepts it, the WebP export dialog offers Lossless; otherwise Image quality and Alpha quality are separate controls. Leave Save animation off for a still cutout. GIF's binary transparency is a poor fit for a soft translucent edge; keep the alpha PNG unless the destination requires another format.
Start a new image with a transparent background
For a new logo or overlay, choose File > New…, enter the required width and height, expand Advanced Options and set Fill with to Transparency. GIMP creates the new image with alpha and an empty background. Draw or add your artwork, keep the project as XCF and export the finished PNG.
Adding an empty transparent layer above an existing white Background doesn't hide the white layer. Switch off the Background layer's eye icon. If you need extra empty space around an existing image, changing the canvas is a separate operation from removing its backdrop.
For a faint overlay, lower the layer's Opacity
To fade the whole picture or watermark, lower Opacity in the Layers dock. It affects the entire layer; at 0 the layer is invisible. A mask controls transparency separately across different parts. The Layers dock's opacity and visibility controls let you make that distinction without deleting artwork.
Keep any solid backing hidden, export the overlay and reopen the PNG above a contrasting fill. That last check confirms both the empty background and the amount of fade the recipient will receive.

Elena Morris
Elena Morris is the GIMP image-editing and compositing editor at TheGIMP.net. She writes about selections, masks and layers, restrained retouching, compositing and export.