What is GIMP? Uses, limits and your first useful project
What the GNU Image Manipulation Program does, where it fits and how to keep an editable project while delivering a finished image.
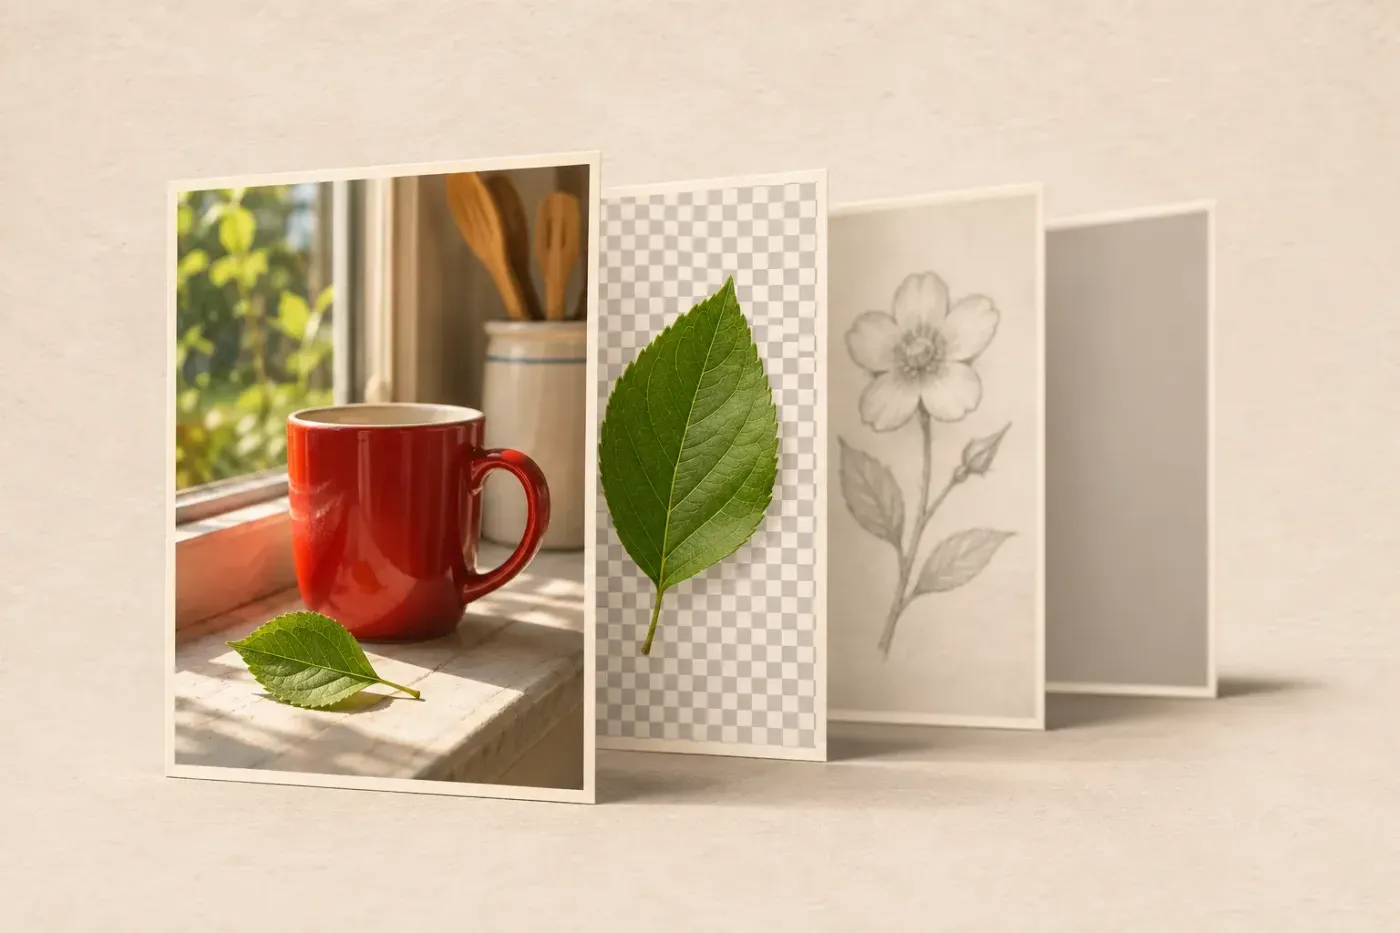
GIMP is a free, open-source desktop image editor; its name stands for GNU Image Manipulation Program. You can use it to retouch photographs, remove backgrounds, combine images, paint and make graphics with editable text. I'd choose it for work that needs careful edges, masks or texture editing without a software subscription, provided the final file fits the recipient's workflow.
What can you make with GIMP?
The GIMP project's introduction describes photo retouching, image composition and image authoring. Those categories cover quite different jobs. Fixing a colour cast in one photograph is a small adjustment; making a convincing composite also means matching the scale, lighting and boundaries of several images.
| Your task | What GIMP gives you | The decision that matters |
|---|---|---|
| Improve a photograph | Crop, colour adjustments, Clone and Healing | Keep useful texture and check whether bright or dark areas have lost detail. |
| Remove a background | Selections, transparency and layer masks | Inspect hair, translucent material and the edge against its intended new background. |
| Combine several images | Layers, masks, transforms and colour effects | Keep the pieces editable while matching their lighting and proportions. |
| Make a caption, banner or thumbnail | Text layers, guides, images and export controls | Set the required pixel dimensions and make the words readable at the displayed size. |
| Paint or prepare a texture | Brushes, separate layers and painting tools | Choose the canvas size before detailed work and keep marks that need separate revisions on separate layers. |
GIMP can also extend or automate image work through plug-ins and scripts. That's useful when a job repeats the same operations across several images. I'd establish the sequence with the built-in tools first, then choose a compatible extension for the part that needs repeating.
A finished photograph or web graphic can be professional work regardless of the editor's price. The useful question is whether you can deliver the required image and revise it reliably. I wouldn't switch a team project to GIMP merely because a PSD opens: the text, masks, effects and next person's editing requirements need checking too.
Is GIMP free, and where does it run?
Yes. The official FAQ permits commercial use and identifies the licence as GNU GPL version 3 or later. There's no separate commercial-use edition to buy for paid image work. That permission doesn't give you rights to somebody else's photograph, stock illustration or font; those assets have their own terms.
The official downloads page supplies desktop packages for Windows, macOS and GNU/Linux, with the operating-system and processor requirements for each route. Start there and choose the package for your machine. On a managed work or school computer, check that installation is allowed before planning a job around it.
The GIMP project focuses on desktop users. Its mobile-development explanation doesn't offer an official Android or iOS edition to install. A phone app with a similar name, a browser extension and a hosted desktop session are separate products or services. A hosted GIMP provider may run an older version and charge for saving; a browser editor may be a different application entirely. Check where files are processed and how they come back before uploading private material.
Understand pixels, layers and masks together
GIMP is primarily a raster editor: photographs and ordinary painted layers are grids of pixels. Enlarging a small picture adds calculated pixels; it doesn't recover detail that wasn't in the source. The Scale Image documentation explains this distinction. Changing a print-resolution number is a different operation from adding more pixels.
Layers keep parts of the composition separate. A title can sit above a photograph without becoming part of that photograph's pixels. The Layers dialog shows this stack: upper visible layers cover lower ones where they're opaque. Clicking a layer selects what you intend to edit; clicking its visibility control shows or hides it. Hiding a layer and selecting a layer do different jobs.
A selection limits the region affected by many operations. A layer mask controls which parts of one layer remain visible. On a mask, black hides, white reveals and grey gives partial transparency. That makes a mask useful for a cutout: you can adjust the edge without erasing the photograph beneath it. The mask has its own thumbnail next to the layer thumbnail, so check which one is selected before painting.
I'd learn a layer mask for a cutout or blend before relying on the Eraser for every correction. A hard edge that looks neat against white can show a bright fringe against a dark replacement background. Keeping the mask editable gives you a way to repair that boundary later.
GIMP 3 also changed what can stay adjustable. Its non-destructive filter system lets most GEGL filters remain as editable effects instead of immediately merging them into the layer. You can reopen an effect's settings, hide it or remove it. Choosing a destructive merge is still possible; an XCF doesn't reverse a decision to merge or paint over pixels.
GIMP 3.2 added vector layers and link layers. Vector layers keep a path's shape, fill and stroke adjustable. Link layers bring in an external image that can update when its source changes. These additions matter when an older tutorial says GIMP has no editable vector layers or treats every filter as permanent. They don't turn every photograph, text export or PSD exchange into a lossless process.
Check these limits before committing to a project
For photographs, cutouts and layered web graphics, GIMP is a sensible place to work. Other deliverables need an extra check at the start.
- Scalable logos and long page layouts. GIMP 3.2's vector layers are useful inside a composition, but a dedicated vector or layout application is often a better starting point when the deliverable is editable vector artwork or a multi-page document. The project FAQ recommends Inkscape for work dominated by shapes. Choose the required deliverable before drawing a logo into an ordinary pixel layer.
- Photoshop project exchange. GIMP supports PSD import and export, with compatibility improvements in GIMP 3. Support isn't a promise that every Photoshop feature will remain identical. Open a representative file, check the required text, masks and effects, then reopen the exported file in the recipient's application. Keep the original PSD untouched.
- Camera RAW photographs. These need a RAW-processing route rather than the same opening process as a finished JPEG. The official FAQ describes darktable and RawTherapee integration; the 3.2 release notes add ART support. Pick a compatible processor for developing the RAW image, then use GIMP for the pixel editing or composite that follows.
- Print production. Soft-proofing and CMYK import/export support don't mean a native CMYK editing mode. The FAQ distinguishes CMYK conversion from GIMP's RGB storage. Ask the printer for the required file type, profile, dimensions and production conditions before preparing the job. A generic promise that GIMP either does all CMYK work or cannot produce any CMYK output misses that distinction.
- Older plug-ins and tutorials. Check the GIMP version a tool or instruction targets. GIMP 2.10 steps can differ from GIMP 3, and a downloadable extension needs compatibility checking. You don't need a bundle of plug-ins to finish the first project below.
For a recurring production task, use one representative file to check the whole delivery path. Being able to open a source file is only the beginning; the useful test is whether the next person can use the saved result.
Make a captioned image you can revise later
Use a photograph you own or have permission to edit. Choose one with a quiet area for a short title and enough pixels for the intended output. This exercise creates a photograph with a separate text layer, then saves an editable project and a finished picture. It teaches the parts you'll reuse in a banner, presentation image or thumbnail.

Open the source and set the working dimensions
Choose File → Open and select the photograph. Keep its original file separately. Use File → Save As to save a new working file named poster.xcf in a folder you can find again.
For this exercise, use Image → Scale Image to make a large source 1600 px wide. Keep the chain beside Width and Height joined so the proportions stay linked, and let Height update. The 1600 px value is a practice choice, not a requirement for every website or social platform. If your source is already smaller, keep its dimensions or choose a larger source rather than enlarging it just to match the example.
Scale Image changes the whole image and its layers. Zoom only changes how large you see it on screen. A duplicate layer inside the project wouldn't protect the source from whole-image scaling, which is why the untouched original stays outside this working file.
Add the title as editable text
- Choose Tools → Text, or press T when you're not typing into another field.
- In Tool Options, choose an installed font, set Style to Filled and pick a colour that stands apart from the photograph. On a 1600 px-wide practice image, 80 px is a reasonable starting size for a short title; change it to suit the words and the space.
- Click a quiet area inside the image and type a short title, such as Green hills. GIMP creates a text layer. A longer title may need a line break or a different size so it stays within the image.
- Check the Layers dialog. The text layer should sit above the photo layer. Use the Text tool to select the words again when you want to change them; keep this as a text layer rather than choosing a rasterising operation.
The Text tool documentation distinguishes settings in Tool Options from the on-canvas editor, which can apply formatting to selected characters. If part of a title looks different, inspect that character selection before repeatedly changing the whole layer's font settings.
Check the caption at the size where people will read it. Zooming in until the letters fill the screen can hide the fact that the words are too small in the finished graphic. If the background is busy, choose another position or simplify the title before adding more effects.
Save both files and check that they do different jobs
Save poster.xcf again after the text is ready. Then choose File → Export As, name the finished image poster.png and complete the PNG export dialog. Locate both files in your chosen folder.
- Reopen the XCF in GIMP. Select the text layer and use the Text tool to change a word. The title should still be independently editable above the photograph.
- Open the PNG in an image viewer. Check the complete picture, the title's position and readability, and the pixel dimensions. It should show the intended visible composition.
- Keep the original, XCF and accepted export. A new caption belongs in the XCF; export another finished image after changing it.
If the PNG looks right but the XCF contains only one ordinary image layer, check whether you reopened the PNG instead or saved after flattening. Renaming poster.png to poster.xcf won't recreate the text layer. Keep the correctly layered project before replacing any files.
Choose the working file and delivery format deliberately
XCF is the working project. It keeps GIMP's layers, masks and other editable image information, with one important exception: it doesn't save Undo history. The saving and exporting manual makes that exception explicit. Keep source files and useful intermediate versions when a change may need revisiting; don't expect reopening the XCF to restore every earlier action.
PNG and JPEG are finished image choices. PNG can retain transparency and is useful for the exercise's text-and-photo graphic. JPEG is useful for an opaque photograph when you need a compressed delivery file. Neither replaces the same editable GIMP layer stack. Choose the export that the destination accepts, check its file-size limits and inspect the result after export.
Exporting doesn't require you to flatten the XCF first. Keep the editable structure, then make the delivery image separately. That leaves room to change the wording, repair a mask or adjust an effect later.
Fix the first problem without rebuilding the picture
| What you see | Check first |
|---|---|
| An edit affects the wrong thing | Check the selected layer, and whether its image thumbnail or mask thumbnail is active. Visibility alone doesn't choose the editing target. |
| Only part of the picture responds | Check for an active selection before repeating the operation. If you intended the whole image, clear that selection with Select → None. |
| The title disappears | Check the text layer's visibility, its position above the photograph, its colour and whether the words extend outside the image. |
| The image fills the screen but the export is still small | Check pixel dimensions with Image → Scale Image. Screen zoom isn't an increase in saved image dimensions. |
| Save As doesn't offer JPEG | Use File → Export As for a JPEG or PNG. Save the editable project as XCF. |
| The finished file has no editable title | Open the XCF for further editing. A flattened PNG/JPEG is expected to behave as a finished picture. |
Once the captioned image survives the reopen check, choose the next lesson around your real task: crop an image to improve its framing, set image dimensions without confusing pixels and print resolution, or work on the mask edge of a cutout. I'd build those skills around one image at a time. The point is to keep each decision understandable and the next revision possible.

Elena Morris
Elena Morris is the GIMP image-editing and compositing editor at TheGIMP.net. She writes about selections, masks and layers, restrained retouching, compositing and export.