Use a layer mask in GIMP to hide, reveal and blend
Add and paint a GIMP layer mask, turn a selection or image into one, blend photos and keep the right pixels editable through export.
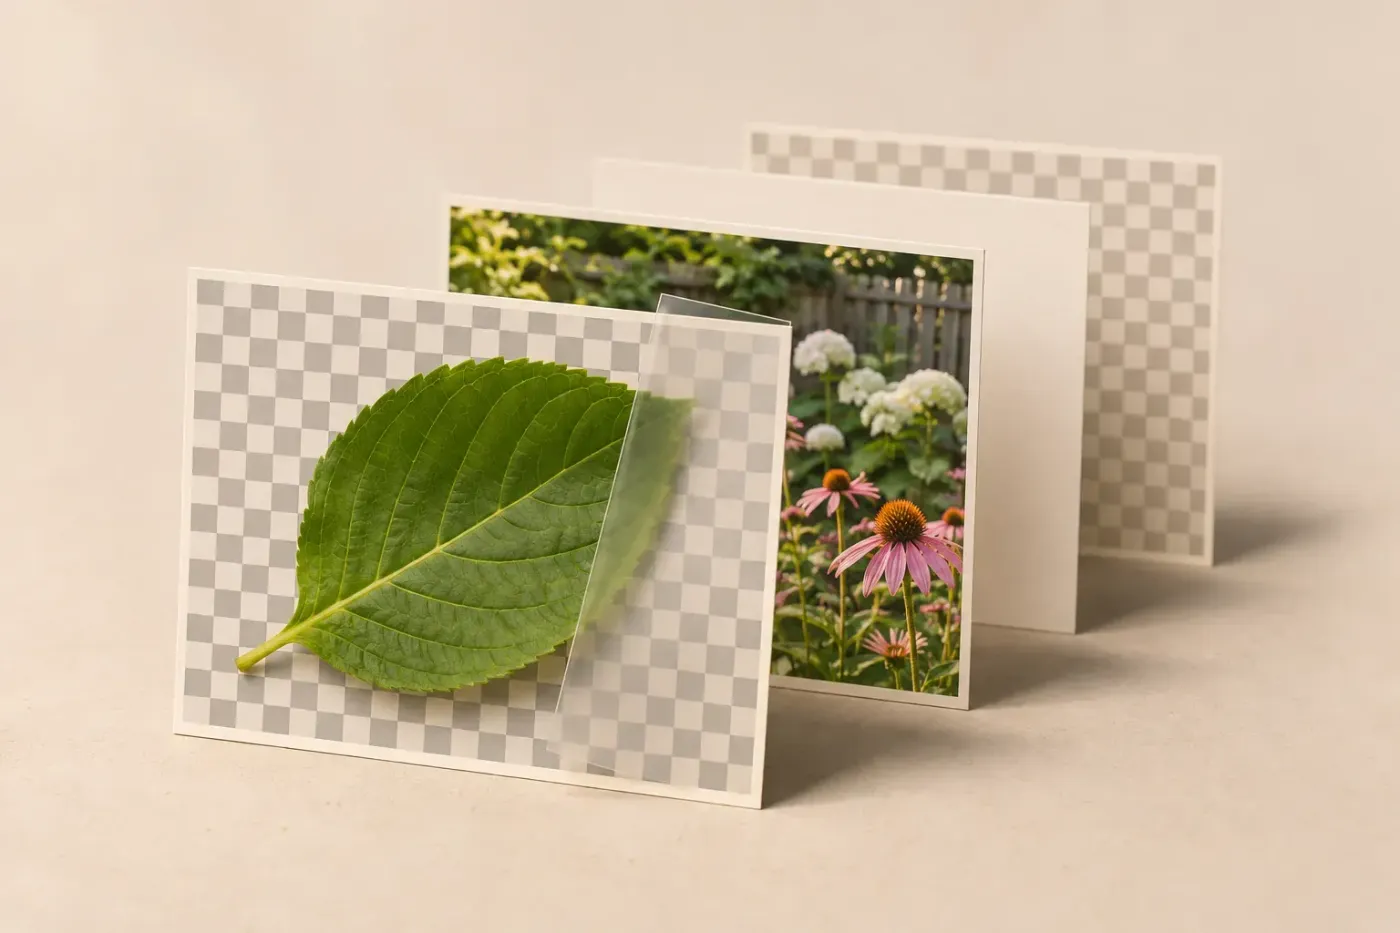
To add a layer mask in GIMP, select the layer and choose Layer > Mask > Add Layer Masks, then White (full opacity). Click the new mask thumbnail and paint black to hide an area, or white to reveal it again. I'd use a mask for a cutout or blended edge that may need correcting later: it keeps the hidden image available while the mask remains separate.
What a mask changes, and what it leaves alone
A mask controls visibility at different points on its attached layer. White reveals, black hides, and grey allows a blend with whatever is below. The layer's Opacity slider instead changes the strength of the whole layer. The official layer-mask tutorial shows this difference through regions of different mask values.
Black doesn't necessarily produce a checkerboard. It reveals the lower layers; a checkerboard appears only where the resulting image is transparent. If an identical photograph sits underneath the masked one, hiding part of the top copy may appear to change nothing.
White restores areas hidden by this mask. It doesn't reconstruct pixels already erased from the photograph, override the layer's original transparency or turn up a reduced layer opacity. For a reversible cutout, start with the intact photograph and hide its unwanted areas on the mask.
A selection and a mask also do different jobs. A selection restricts where an operation can act. A layer mask stores visibility on one layer and remains with it after you clear the selection. Converting a good selection into a mask is often the quickest way to get an editable edge.
Add a white mask and paint a reversible edge

- Open the photograph. For a composite, open the second image as a layer and put the image you want to mask above the replacement background.
- In Layers, select only the intended layer. Choose Select > None to clear an old selection, and save an XCF project before extensive editing.
- Choose Layer > Mask > Add Layer Masks, or the corresponding command in the layer's right-click menu. Select White (full opacity), leave Invert mask off and click Add.
- Click the new mask thumbnail to the right of the image thumbnail. Its white border indicates the active editing target, though that border can be hard to see against a white mask.
- Choose Tools > Paint Tools > Paintbrush, or press P. Double-click its icon for Tool Options. Start with Normal mode, full opacity and dynamics disabled for a predictable mouse stroke.
- Set the foreground colour swatch to black and paint over the area to hide. Choose a smaller brush around detailed edges and a hardness suited to the boundary.
- Change the foreground colour to white and paint back anything hidden by mistake. Keep the mask thumbnail selected.

White initialisation leaves the image's appearance unchanged. Adding the mask alone therefore doesn't remove a background. The black brushwork supplies that change.
For a sharp product edge, use a controlled, fairly firm boundary. A soft brush suits a transition, but a broad soft stroke around every subject leaves a halo. I'd refine at a close zoom, then check at the intended viewing size and against contrasting backgrounds; an edge that disappears against white may be obvious against dark grey.
Grey on the mask gives partial visibility. You can use it deliberately for a blend, but don't mistake incomplete coverage for a clean cutout. Brush opacity and dynamics affect the marks you lay down; when diagnosing a stubborn area, use an opaque black or white brush so the next stroke has a clear expected result.
For selective colour, duplicate an RGB photograph and keep the colour original underneath. On the upper copy, use Colors > Desaturate > Desaturate to turn that layer black and white, then add a white mask. Paint black on its mask to reveal the original colour underneath; paint white to restore the black-and-white version. The mask remains grayscale. It controls which layer shows through rather than painting a new colour onto the photograph.
Start from a selection, or choose another mask initialiser
When you've already selected the subject, use that selection rather than painting its whole outline again. If you selected the background instead, choose Select > Invert first. The selection and background-removal workflow covers the choice of selection tool and edge refinement.
- Select the layer you want to mask, keeping the intended subject selected on the canvas.
- Choose Layer > Mask > Add Layer Masks, then Selection. Leave Invert mask off and click Add.
- Choose Select > None. The mask retains the selected shape; clearing the selection lets you paint corrections across its boundary.
- Click the mask thumbnail and refine with black and white. Check fine edges over the actual replacement background.
The Selection initialiser makes selected areas visible and unselected areas transparent. Partly selected edges become partial mask coverage. There's no single feather width that suits hair, a hard object and a distant horizon.
| Initialiser | Choose it when | What happens |
|---|---|---|
| White (full opacity) | You want to hide areas by painting black | The mask starts without hiding anything |
| Black (full transparency) | You want to reveal only a small part | The layer starts hidden; paint white where it should show |
| Selection | A useful selection is already active | The selected shape becomes the mask |
| Transfer layer's alpha channel | You want existing transparency controlled by a separate mask | Transparency moves to the mask while the layer's alpha is reset, preserving the initial appearance |
Layer's alpha channel and Transfer layer's alpha channel aren't equivalent. The first keeps the existing alpha and also uses it for the mask, increasing transparency where pixels were already partly transparent. The transfer option avoids that doubling. It still doesn't recover pixels that are missing from the source.
Each layer has one layer-mask slot. If Add Layer Masks is unavailable because a mask already exists, edit that mask. Save an XCF copy before deliberately replacing it; deleting a carefully refined mask just to make the Add command available loses that work.
Blend two photos with a gradient on the mask
Put the second photograph below the one you're fading, and add a white mask to the top image. A white-to-black gradient on that mask keeps the top image visible at one end and lets the lower image show through at the other.
- Click the top image's mask thumbnail and choose Select > None.
- Set the foreground colour to white and the background colour to black.
- Choose Tools > Paint Tools > Gradient, or press G. In Tool Options choose FG to BG (RGB), Linear shape, Normal mode, full opacity and None (extend) repeat. Keep Reverse off.
- Enable Instant mode before drawing. Drag from the part that should stay visible towards the part that should disappear. Release to apply.
- If the direction is wrong, undo and reverse the drag. For a broader transition, undo and draw a longer line.
The gradient's drag length controls how abrupt the transition is. Instant mode makes this recipe commit on release; with it off, the gradient remains available for on-canvas editing. Don't confuse a pending gradient with a failed mask.
Choose the foreground-to-background gradient carefully. FG to Transparent blends with what is already on the mask, so it isn't the same white-to-black starting recipe. A gradient can soften a join; it won't align mismatched horizons or correct different lighting.
Use another image as the mask
A texture, silhouette or tonal image can supply the mask's grayscale values. Prepare its size and alignment first: for a straightforward full-layer mask, use the same pixel dimensions as the target layer and make the images line up. Save a project copy before replacing existing mask detail.
- Open the mask-source image in GIMP. Select its intended source layer, choose Select > All, then Edit > Copy.
- Return to the destination image. Add a white mask to the target layer if it has none. Choose Select > None, then click the mask thumbnail. Zoom out so you can check the whole image.
- Choose Edit > Paste. With a layer mask selected, GIMP 3 creates floating mask data; it doesn't paste an ordinary photo layer in this case.
- Inspect its position and coverage before committing. Choose Layer > Anchor Floating Layer or Mask to merge the pasted data into the selected mask.
- Click the mask thumbnail and inspect the result. Correct remaining areas with black or white. If the pasted region was too small or misaligned, undo and fix its size or placement rather than painting around an unexplained seam.
The GIMP copy-and-paste specification describes this mask-specific behaviour: copied content becomes merged grayscale data, and the floating mask must be anchored, removed or undone before changing the editing target. If Paste creates an ordinary new layer, undo it and select the mask thumbnail before pasting again. Anchoring commits the floating data to its target.
For a mask derived from the image itself, the Add dialog also offers Grayscale copy of layer. Channel uses a saved mask channel rather than the ordinary RGB component channels. Masks built around highlights, mid-tones or shadows serve a more specific editing task; the luminosity-mask workflow explains those tonal selections.
Distinguish editing, viewing, disabling and applying
| Command under Layer > Mask | Effect | When to use it |
|---|---|---|
| Edit Layer Mask | Selects the mask as the editing target; a white border identifies it | Paint on the mask while judging the normal image |
| Show Layer Masks | Shows the mask itself; its thumbnail border is green | Inspect holes, grey fringes and uneven coverage |
| Disable Layer Masks | Temporarily bypasses the mask; its border is red | Compare with the underlying unmasked layer |
| Apply Layer Masks | Transfers mask transparency into the layer's alpha channel and removes the separate mask | Only when you deliberately want to commit that structure |
| Delete Layer Masks | Discards the mask without changing the underlying layer | Remove an unwanted mask, after preserving any work you may need |
Editing the mask doesn't require showing it alone. Repeat Show Layer Masks to return to the composite. Repeat Disable Layer Masks to re-enable its effect.
I'd keep the mask separate in the working XCF. Applying it removes that separate control, and export doesn't require this step. Deleting it instead reveals the original layer according to its existing transparency. These are different outcomes.
Fix the symptom before repainting the edge
| Symptom | Next check |
|---|---|
| Black appears directly on the photo | Undo. Click the right-hand mask thumbnail before painting again. |
| Only a small region changes | Clear an unintended selection with Select > None. |
| The whole canvas becomes black and white | Turn off Show Layer Masks to inspect the composite again. |
| Black on the mask has no apparent effect | Re-enable a disabled mask; check whether an identical layer underneath fills the hidden area. |
| The whole layer vanishes on adding a mask | A black initial mask hides it. Paint white on the mask to reveal the required area. |
| The brush doesn't change the mask | Select one target mask; check content lock, brush mode, opacity and dynamics. Try an opaque black or white stroke inside the layer boundary. |
| White won't restore a missing piece | Check original transparency, layer opacity and whether the photo pixels were erased. White only reverses hiding caused by the mask. |
| A pasted mask covers only part of the photo | Check source pixel dimensions, alignment and any selection used while copying or pasting. |
Keep the editable XCF and inspect the delivery image
Save the project as XCF with the mask intact. For a transparent cutout, hide the unwanted background layers and use File > Export As to make a PNG. JPEG doesn't retain transparency. The transparent-export checks cover the alpha and background conditions.
Open the exported file and inspect the edge against light and dark backgrounds at its intended size. Send that finished image when the recipient needs the cutout alone. XCF preserves project structure, so it can still contain image areas hidden by the mask. Hiding them in the project isn't a way to remove them from a shared project file.

Elena Morris
Elena Morris is the GIMP image-editing and compositing editor at TheGIMP.net. She writes about selections, masks and layers, restrained retouching, compositing and export.