How to cut and paste an object in GIMP 3
Transfer a selected object between images while preserving the source, then check its position, edges and final export.
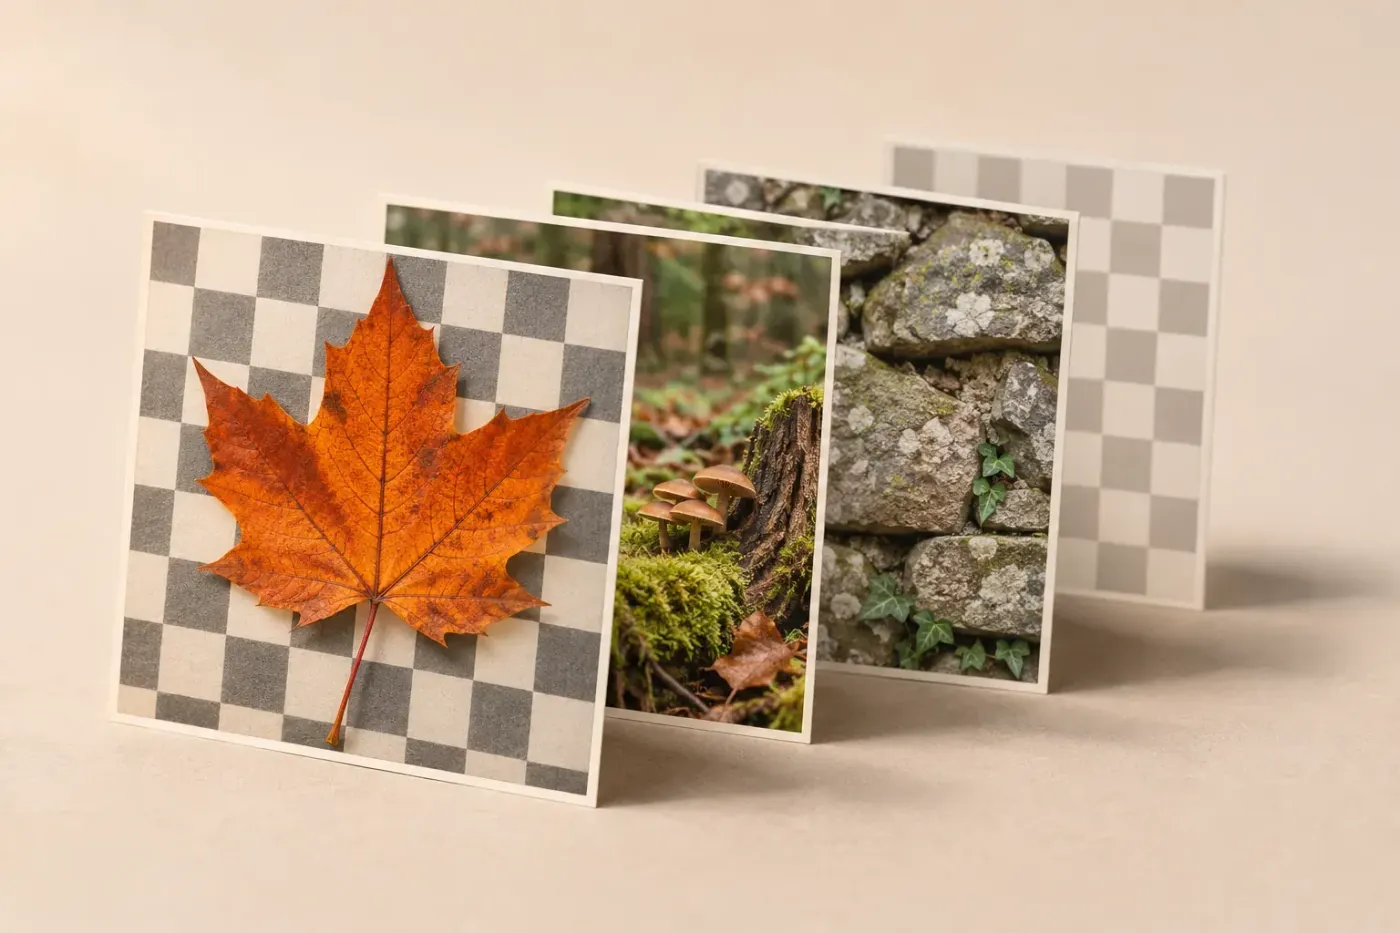
To cut out an object and paste it into another image in GIMP 3, select the object on its source layer, choose Edit → Copy, switch to the destination image and choose Edit → Paste. With an image layer selected, ordinary Paste creates a new layer above it. I'd copy first because it keeps the source intact while you check the object's scale and edges. If the edge still needs substantial work, bring in the full original and hide its background with a mask so you can recover missed detail.
The quick route: copy the object onto its own layer
- Open the source and destination with File → Open. Check the image tabs so you know which photograph supplies the object and which receives it. Save a working XCF for the composite before making substantial changes.
- Select the source image, then its image-layer thumbnail. In the Layers dialog, choose only the layer containing the object. A layer name selects the layer; it does not identify the object inside the photograph. If a mask thumbnail is active, click the image thumbnail beside it instead.
- Make and confirm the object selection. For a simple outline, choose Tools → Selection Tools → Free Select, use Replace mode and trace the boundary. Close the outline and press Enter. Include the parts you need, such as a stem or handle; exclude the surrounding background and any holes through the object.
- Choose Edit → Copy. On Windows and Linux the standard shortcut is Ctrl + C. Keep the source open until the transfer is checked.
- Switch to the destination image. Choose Select → None to clear an unrelated selection. Click the image thumbnail of the layer immediately below where the object should appear. Check that you haven't selected its mask.
- Choose Edit → Paste (Ctrl + V on Windows and Linux). Look for a new layer above the destination layer and rename it, for example Foreground leaf. You can now move and resize that layer independently.
The GIMP 3 Paste command creates a layer when you're pasting onto an image layer. You don't need to float the source selection first or immediately anchor the result, as older tutorials often suggest. On macOS, follow the same menus and use the shortcuts displayed beside the commands.
For another copy within the same photograph, stay in that image after copying and paste onto a new layer there. Copy leaves the original object in place. Moving the pasted copy therefore creates a duplicate; it doesn't remove or repair the original location.
Get the selection right before copying
A selection is an area of the image, while a selected layer is the source of its pixels. GIMP's Copy command reads the selected layers; without an image selection it copies the whole selected layer. A rectangular selection around a bird copies the sky inside that rectangle too. Paste doesn't recognise the bird and remove the sky for you.
Free Select suits a clear, relatively simple boundary. Use enough points to follow the shape without shaving off small features. Confirming Free Select with Enter finishes the editable outline. If you started from an old selection, check Replace mode; Add, Subtract and Intersect combine it with what was already selected. Select → Invert swaps the selected and unselected areas, so use it when you've selected the background rather than the subject.
For hair, feathers, glass or a similarly difficult edge, don't force a polygon to do all the work. The background-removal guide covers choosing and refining an extraction. Keep the full source available while deciding how much of a soft or semi-transparent edge belongs in the result.
To inspect a selection, choose Select → Toggle Quick Mask. Its default red overlay covers unselected areas; fully selected areas remain clear. In this mode, white paint adds to the selection and black removes from it. Quick Mask shows partial selection detail that the marching outline cannot. Toggle it off before copying the object: while Quick Mask is active, copying acts on the selection channel rather than the photograph.
Leave Antialiasing enabled for an ordinary smooth cutout edge. Treat Feather edges separately: it blurs the selection boundary and partially selects nearby pixels. A large feather can leave a translucent rim around a solid object. The selection options explain that distinction; no single feather radius suits every image size and edge.
Choose what goes through the clipboard
| What you need | Command | What to expect |
|---|---|---|
| The selected part of one source layer | Edit → Copy, then Edit → Paste | A separate object layer in the destination. Select one source image layer for this workflow. |
| The visible appearance built from several layers | Edit → Copy Visible, then Paste | One combined layer. Hide unwanted backgrounds first and keep the intended object selection active. |
| Several selected source layers kept separate | Edit → Copy, then Paste | GIMP can paste the copied layers separately. Use this deliberately; accidentally selecting several layers changes what you transfer. |
| The same coordinates on matching canvases | Edit → Paste In Place | Uses the position copied within GIMP. It doesn't resize the subject to fit a different canvas. |
| A separate document containing the clipboard image | Edit → Paste as → Paste as New Image | Creates another image, rather than inserting the object into the current destination. |
Copy Visible combines the visible layers into one clipboard result. If an opaque background is visible within the selected area, it comes with the object. Normal Copy and Copy Visible are therefore different choices, even when the canvas looks the same.
Ordinary Paste positions content using the destination, selection and view conditions; don't rely on it for exact alignment. The copy-and-paste specification distinguishes that behaviour from Paste In Place, which retains GIMP's copied offsets. Coordinates from a large source may put an object outside a smaller destination. Data copied from another application has no GIMP source position: Paste In Place puts that buffer's top-left corner at the canvas origin.
If you're pasting several copied layers but want one combined object layer, the Paste as Single Layer command is available under Edit → Paste as. Keep the source XCF when those separate components may need editing later.
Keep the full source when the edge may change
A mask can hide or reveal pixels already present on a layer. It cannot recover a leaf tip, strand of hair or soft shadow that was left outside the selection and never copied. I'd use the full-source route when that boundary is uncertain, because the hidden background and missed edge pixels remain available for refinement.
- Make the destination image active. Choose File → Open as Layers and open the original source photograph. Open as Layers imports it into the current image. For a single photograph this gives you the full source layer; rename it Subject.
- Fit the source layer if necessary. If it is larger than the destination or the subject lies outside the canvas, use the layer-scaling and positioning steps below to bring the whole subject into view. Keep the original file unchanged so you retain an unscaled source.
- Select that layer's image thumbnail and make a selection around the subject. If the source initially covers the destination, that's expected: its background hasn't been hidden yet.
- Choose Layer → Mask → Add Layer Masks. Under Initialize Layer Mask to, choose Selection. Leave Invert mask unchecked and click Add.
- Choose Select → None. This releases the selection so it won't restrict your subsequent mask painting.
- Click the new mask thumbnail. Paint black to hide unwanted source background, white to reveal retained subject detail, and use partial grey where the edge genuinely needs partial transparency. Zoom in for the boundary, then judge it at its intended display size.
- Click the image thumbnail before positioning or colour work. Keep only this subject layer selected. Preserve the mask rather than applying it while the extraction is still changing.

The Selection initialisation option makes selected regions opaque and unselected regions transparent, retaining partial selection at the edge. If the layer already has a mask, Add Layer Masks is disabled; inspect and refine the existing mask rather than removing it without checking what it contains. The layer-mask guide explains the thumbnail and painting controls.
You can also add a mask to a pasted cutout to hide a fringe or reduce its visible area. That is useful, but painting the mask white only reveals pixels still available in that cutout. Return to the source and make a wider copy, or use the full-source route, if important detail is absent.
Place the object, then judge it against the background
Select the object's image thumbnail and choose the Move tool. In Tool Options, set its target to Layer and choose Move the selected layers. Drag to position the object. The Move tool's selected-layers mode avoids picking the background through transparent space around a cutout. Selection mode moves the selection boundary instead of the object pixels.
For size, choose Layer → Scale Layer with only the object layer selected. Keep the width/height chain linked, enter the required dimension and apply it. Scale Layer resizes the selected layer; Image → Scale Image resizes the whole composite. A larger layer doesn't acquire new photographed detail through interpolation. Keep an unscaled source and avoid repeatedly shrinking and enlarging your only working copy. The layer-resizing guide covers that choice in more detail.
Settle the approximate size before fine edge work. Compare the subject with nearby objects and the scene's viewpoint. A person lit from the left won't naturally match a background whose strong shadows point the other way; changing brightness alone cannot resolve that mismatch.
Inspect the edge over the destination, then temporarily over light and dark backgrounds. A pale fringe may disappear on white and become obvious on a dark scene. Use the mask to hide unwanted source pixels without cutting into the subject. A genuine soft edge needs a gradual transition; a solid leaf edge shouldn't turn into a broad translucent halo.
If the subject is too dark, select its image thumbnail, clear any leftover selection and open Colors → Levels. On the Value channel, a modest movement of the middle input slider towards the black end lightens midtones. Compare Preview and keep highlight detail. The Levels controls affect the active layer or selection; working on the subject layer keeps this adjustment separate from the background. Recheck colour and contrast at the final display size before adding further corrections.
Use Cut when the source really should lose the object
Edit → Cut copies the selected pixels and clears them from the selected source layer. Keep this workflow to one selected image layer. The Cut command leaves transparency when that layer has an alpha channel; otherwise the cleared area is filled with the background colour. With no image selection, the whole current layer is affected.
Cut doesn't rebuild the scene behind the object. Moving a cut-out person elsewhere in the same photograph leaves a hole or filled area at the original position. Preserve the source before doing that, then follow the object-removal workflow if the background needs repair. Copy is the better starting point for a two-photo composite.
If the result is blank, rectangular or hard to edit
| What happened | Check and correction |
|---|---|
| The whole photo pasted | Confirm the object selection with Enter before Copy. Check Replace mode, and make sure you're copying pixels rather than merely selecting a layer name. |
| The result is empty or contains the wrong pixels | Check the source image tab, selected image layer and selection overlap. A selection over an empty region of that layer provides no object pixels. |
| A background rectangle surrounds the object | A rectangular selection copied that background, or Copy Visible included it. Refine the extraction or keep the full source and mask its background. |
| The object seems missing after Paste | Check the new layer's visibility and position in the stack. An opaque layer above it can hide it. Zoom out to inspect its position, especially after Paste In Place between different canvas sizes. |
| Only an outline moves, or the background moves | Choose the pasted layer, set Move to Layer and choose Move the selected layers. Check that only the intended layer is selected. |
| Paste creates a floating mask or greyscale result | A mask thumbnail was selected in the destination. Undo that paste, click its image thumbnail and Paste again. Pasting into a mask uses greyscale data and creates a floating mask. |
| Other layers won't accept edits after a floating paste | Check whether you deliberately used Paste as Floating Data, pasted into a mask, or followed a GIMP 2.10 tutorial. Resolve the floating data; if it was accidental, undo it and repeat ordinary Paste onto an image layer. |
| Painting white won't bring back a missing edge | Check which pixels the copied layer actually contains. A mask cannot restore uncopied or erased detail. Return to the original source rather than painting over the only copy. |
The distinction between image pixels and masks also explains why copying while Quick Mask is active can transfer a selection shape rather than the photograph. Leave Quick Mask before the object-copy step. Transferring only the outline is a separate task.
If you truly need the pasted pixels combined with an existing layer, keep an editable XCF copy first. Layer → Merge Down combines the active layer with the next visible layer below it in the same group or stack. The Merge Down reference warns that layer modes and transparency can change the appearance. Position and refine the object before making that commitment; merging isn't required to move it or export the composition.
Save an editable composite and check the export
Look at the whole canvas at the intended display size, then inspect the object boundary at 100%. Check scale, framing, unwanted background pixels, light direction and colour. Hide temporary edge-check backgrounds before delivery, and make sure the canvas doesn't crop an important part of the subject.
Save the layered project as XCF, retaining the object layer, mask and source files. GIMP's save-and-export workflow keeps that editable project separate from the finished image; XCF doesn't preserve the undo history between sessions. Export a separate delivery file with File → Export As. Use a format with alpha, such as PNG, if the delivered object itself must remain transparent, and check its export settings retain alpha.
Reopen the exported file from its destination folder. Inspect the same edge and framing again, and check the uploaded version if a service processes it. Keep the source and XCF until that delivered image has the object, background and crop you intended.

Elena Morris
Elena Morris is the GIMP image-editing and compositing editor at TheGIMP.net. She writes about selections, masks and layers, restrained retouching, compositing and export.