Remove objects in GIMP with Heal, Clone or Heal Selection
Remove distractions in GIMP: choose Heal, Clone, a masked patch or Heal Selection, match the surviving background and inspect the finished export.
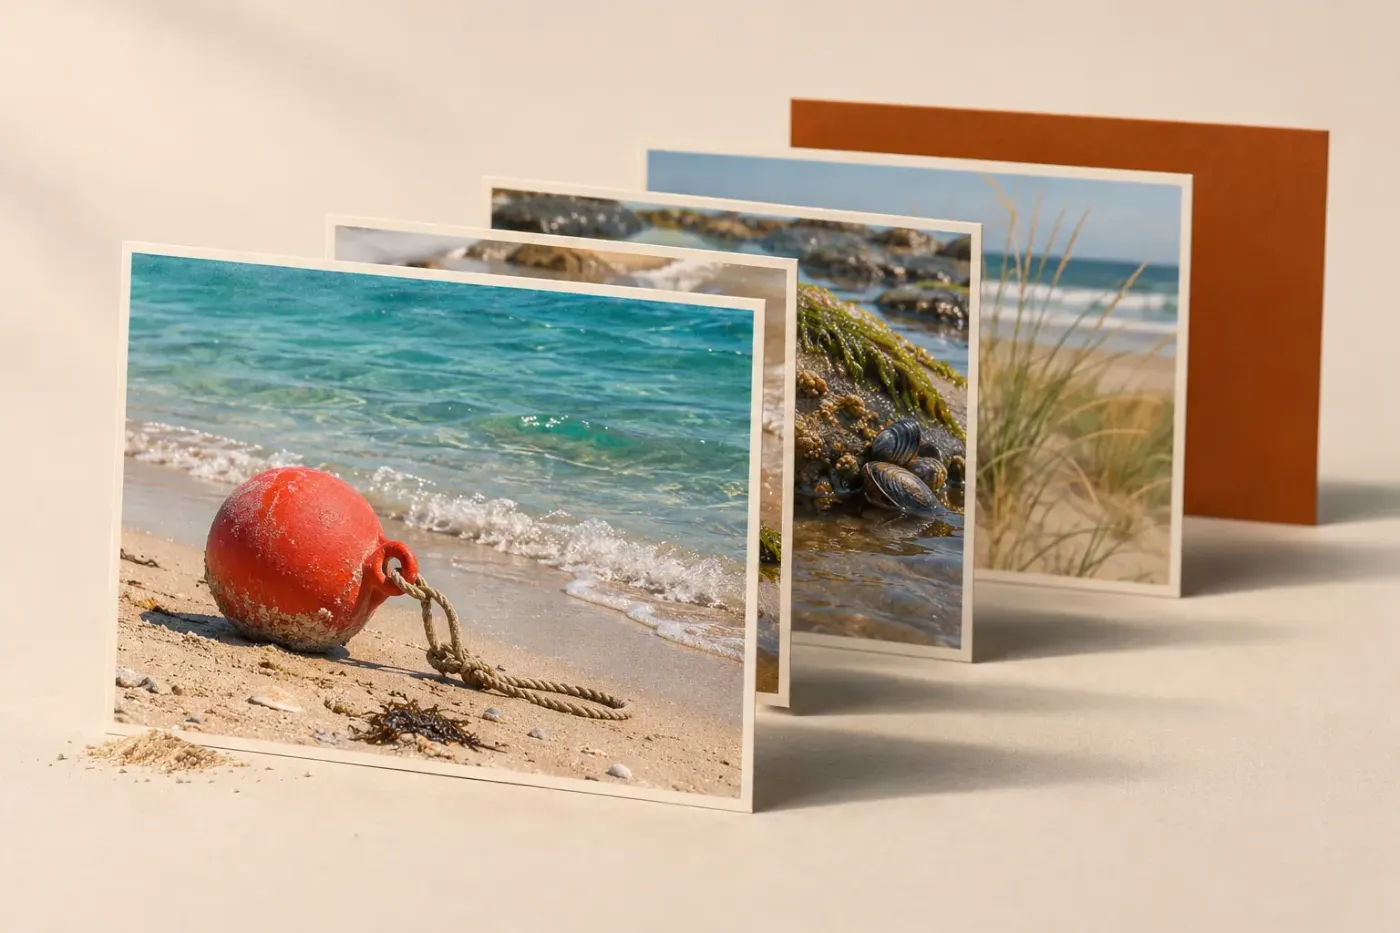
To remove an object in GIMP, paint matching background over it with Heal or Clone: use Heal for small marks in texture, and Clone where a line or edge must continue. Work on a duplicate photo layer, set a clean source, then repair in short strokes. For a larger area, use a separate background patch or Resynthesizer's optional Heal Selection. I'd rebuild any important edge first; blending a patch won't rescue a broken horizon.
Choose by the background you need to rebuild
| What survives around the object? | Best starting point | What to watch |
|---|---|---|
| Similar texture beside a small dust spot or blemish | Heal | Match lighting and texture; avoid broad strokes across boundaries |
| A rail, horizon, brick joint or other defined edge | Clone | Align the structure before blending the seam |
| A clean area large enough to cover the distraction | A patch on its own layer | Match scale, perspective and light; mask the edges |
| Grass, sand or other repeated texture around a larger area | Heal Selection, if installed | Restrict sampling to useful surroundings and inspect the fill |
| No convincing replacement, and the object is near an expendable edge | Crop | Check that the remaining composition still works |
Deleting or erasing an object leaves transparency or a colour; it doesn't reveal the scene that was hidden behind it. If you're keeping the subject and removing everything around it, follow the background-removal guide. This page keeps the scene and replaces a distraction within it.
Look at the whole distraction before selecting a tool. A person may also leave a shadow, reflection or bright outline. Decide which of those must go with them, and identify where the replacement wall, water or ground will come from. A fill can produce plausible texture; it can't establish the original appearance of an obscured face, sign or unique detail.
Keep the original and select the repair target
- Open the photo and choose Layer > Duplicate Layers. Select only the duplicate in Layers, and name it something useful such as Object repair.
- Click its image thumbnail, rather than a layer mask. Keep that layer visible and make sure its pixels aren't locked. GIMP 3 permits multiple selected layers, but brush work needs one selected target.
- Choose Select > None to clear an old selection. Later, make a deliberate selection if you need to protect a neighbouring edge.
- Save a separate XCF project before substantial work. Keep the original photo as well.
The duplicate sits above its source layer, so you can toggle its eye icon to compare the repair with the original. This preserves a reference; painting on the duplicate still changes that duplicate's pixels.
For the duplicate-layer workflow below, leave Sample merged off. Both the sample and the repair then use that photo layer, without picking up visible text or other overlays. Sample merged includes all visible layers; it has a different purpose when cloning onto an empty layer.
Remove a small mark with Heal
- Choose Tools > Paint Tools > Heal, or press H. Double-click the tool icon to open Tool Options if needed.
- Pick a soft round brush a little wider than the mark. Start at full opacity and disable dynamics for a predictable mouse stroke; these are starting settings, not a requirement for every photograph.
- Choose clean texture close to the mark, with similar brightness, grain and direction. Hold the source-setting modifier and click that clean area on the image canvas. Use Ctrl-click on Windows or Linux, or Command-click in the native Mac build. If your setup remaps the keys, follow the source-setting modifier shown in the status bar.
- Release the modifier. Click the mark, or draw a short stroke over it. Watch both the destination brush and the source marker: the source must stay on clean material.
- Re-sample when the light or texture changes. Undo a smeared stroke and improve the source before trying again.
Heal takes the surroundings of the destination into account, so it can blend a small repair more naturally than a literal copy. It still needs a suitable source. Sampling blurred wall texture for a sharply focused wall leaves the wrong detail even if the colour blends.
Use a smaller brush near a boundary. For a blemish against plain skin, keep the source in a comparable area and preserve the surrounding texture. For a mark beside a window frame, repair only the wall with Heal; a broad stroke across both wall and frame can soften the edge. Repeated brushing is a poor cure for the wrong source.
Rebuild a line or edge with Clone
- Choose Tools > Paint Tools > Clone, or press C. Set Source to Image, brush mode to Normal and opacity to full as a starting point.
- Set Alignment to Aligned. Use a brush sized for the missing section; choose enough hardness to keep a defined edge rather than washing it out with a very soft brush.
- Set the source on a clean section of the same edge. Release the source-setting modifier, then place the first destination stroke so that the copied line meets the surviving line on both sides.
- Work in short sections. Follow the source marker and re-sample wherever perspective, texture or illumination changes.
- Once the structure matches, use small Heal strokes on any remaining texture seam. Keep those strokes away from the reconstructed line.

Aligned preserves the source-to-destination offset between strokes. It doesn't straighten a line or match perspective automatically. A brick copied from the top of a receding wall may be the wrong size farther down it. Choose a nearby section on the same plane, and check the joint at each end of the repair.
If each new stroke repeats the same tuft, stone or mark, inspect Alignment as well as the source. None returns to the source origin at the start of every stroke, while Fixed keeps sampling the same spot throughout a stroke. Neither is a good default for rebuilding a continuous stretch of background.
Cover a larger object with a separate background patch
When a suitable clean area is already available, I'd try a patch before hundreds of small clone strokes. It keeps a larger stretch of texture together and leaves its position and edge treatment adjustable. This only works when the donor area fits the destination's scale, perspective and lighting.
- On the duplicate photo layer, select a clean patch slightly larger than the unwanted object. Choose Edit > Copy, then Edit > Paste. In GIMP 3, Paste creates a new layer. GIMP 2.10 uses different paste behaviour; use its Paste As New Layer command rather than leaving floating data unresolved.
- Choose Select > None. Select only the new patch layer. Press M, set Move to Layer and choose Move the selected layers; this avoids dragging the photo underneath by mistake.
- Move the patch over the object and line up any joints or edges. If the clean patch can't match the structure, undo the placement and choose another source; blurring won't correct the geometry.
- Choose Layer > Mask > Add Layer Masks, initialise it to White (full opacity) and add it. Select the mask thumbnail, then paint black with a soft brush around unwanted patch edges. Keep the centre opaque enough to cover the object.
- Paint white on the mask to restore an area hidden too far. Click the image thumbnail again before using Clone or Heal on the patch's pixels.
The mask controls which parts of the patch remain visible; it doesn't create missing background. If a dark ring or the original object's edge reappears, you've masked into the area that needed covering. Adjust the mask or use a larger suitable patch. Keep this layer separate while judging the result.
Fill a larger textured area with Heal Selection
Heal Selection is part of the separate Resynthesizer suite, not the built-in Heal brush. The GIMP 3 release uses the version 3 plug-ins; a GIMP 2.10 package isn't interchangeable. If the command is missing, use the version-specific installation guide. There's no need to install it for the manual methods above.
- Select the duplicate photo layer. Heal Selection uses that selected drawable's material; an empty repair layer isn't a substitute. Select one layer, not several.
- Draw a selection around the object with a small margin. Include the shadow, reflection or fringe that should disappear. With Free Select, close and confirm the selection so its marching-ants boundary is visible.
- Choose Filters > Enhance > Heal Selection. Set Context sampling width (pixels) to reach useful clean surroundings without unnecessarily including a different object or surface.
- Choose Sample from according to where that material lies, then run the fill. Clear the selection afterwards to inspect the entire boundary.
- Undo a poor result and change the selection or sampling area. Finish an otherwise suitable fill with limited Clone or Heal work.
| Sample from | Where the source comes from | Useful situation |
|---|---|---|
| All around | The surrounding band outside the selection | Similar grass or sand on every side |
| Sides | Left and right, across the selection's height | A horizontal wall band with different material above and below |
| Above and below | Top and bottom, across the selection's width | A vertical strip with suitable texture above and below |
These controls come from the version 3 Heal Selection implementation. A larger sampling width isn't automatically better: it may bring in the very hedge, lettering or paving that you don't want copied. Changing Filling order changes how the fill proceeds; it doesn't supply missing source material. The sampling and fill-order guide explains the wider options.
Resynthesizer matches patches from its source material. It isn't a guarantee that a person on a complex background will vanish cleanly. Its internal processing also uses 8-bit values, even when the original image retains a higher encoding; the repaired region loses that precision. Choose another route when retaining that accuracy matters.
Match the defect to the correction
| Symptom | Check and correction |
|---|---|
| "Set a source image first" | Set a source on the image canvas, then release the modifier. Clone must use Image rather than Pattern for photo sampling. |
| Nothing changes | Select one visible photo layer and its image thumbnail; check pixel locks, brush opacity and an old selection. For an empty clone layer, check Sample merged and alpha lock. |
| The stroke stops halfway | The source may have moved beyond its layer or into transparency. Re-sample on opaque photo material. |
| A repeated detail gives the repair away | Change the source and inspect Alignment. Shorten the stroke rather than copying the same distinctive mark across the area. |
| A line bends, doubles or disappears | Undo that section and align the replacement structure with Clone or a better patch. |
| The patch is smooth, muddy or the wrong brightness | Undo excessive healing. Choose material with matching focus and light; a softer brush can't fix a fundamentally unsuitable source. |
| A shadow or outline still suggests the removed object | Inspect outside the original selection. Extend the repair only over the remaining distraction, preserving legitimate nearby detail. |
For an independently adjustable Clone layer, create a transparent layer above the photo, keep its alpha unlocked and enable Sample merged. Visible overlays then contribute to the sample, so control which layers are visible. I'd use the duplicate-photo method first because the source is easier to follow. Resolve the source and target checks above before resetting settings or reinstalling anything.
Inspect the repair and the exported file
View the repair at 100% to look for repeated texture, fuzzy edges, seams and leftover shadows. Then inspect it at the intended display size: the geometry and overall light need to remain convincing when the whole photograph is visible. Toggle the repair layer off and on to check that you haven't removed a useful neighbouring detail.
Save the layered XCF, then use File > Export As for the JPEG, PNG or other delivery format. XCF keeps the editable project, while export prepares the finished image. Open that exported file and inspect the repaired area before sharing it.
If no suitable source exists, keep the photograph unchanged, use another frame, or make a crop that removes the distraction. A plausible replacement is a visual edit, not evidence of what stood behind the object.

Elena Morris
Elena Morris is the GIMP image-editing and compositing editor at TheGIMP.net. She writes about selections, masks and layers, restrained retouching, compositing and export.