Change GIMP canvas size without stretching the image
Add a border, reveal an off-canvas layer or set exact dimensions while keeping the picture’s pixels and editable structure intact.
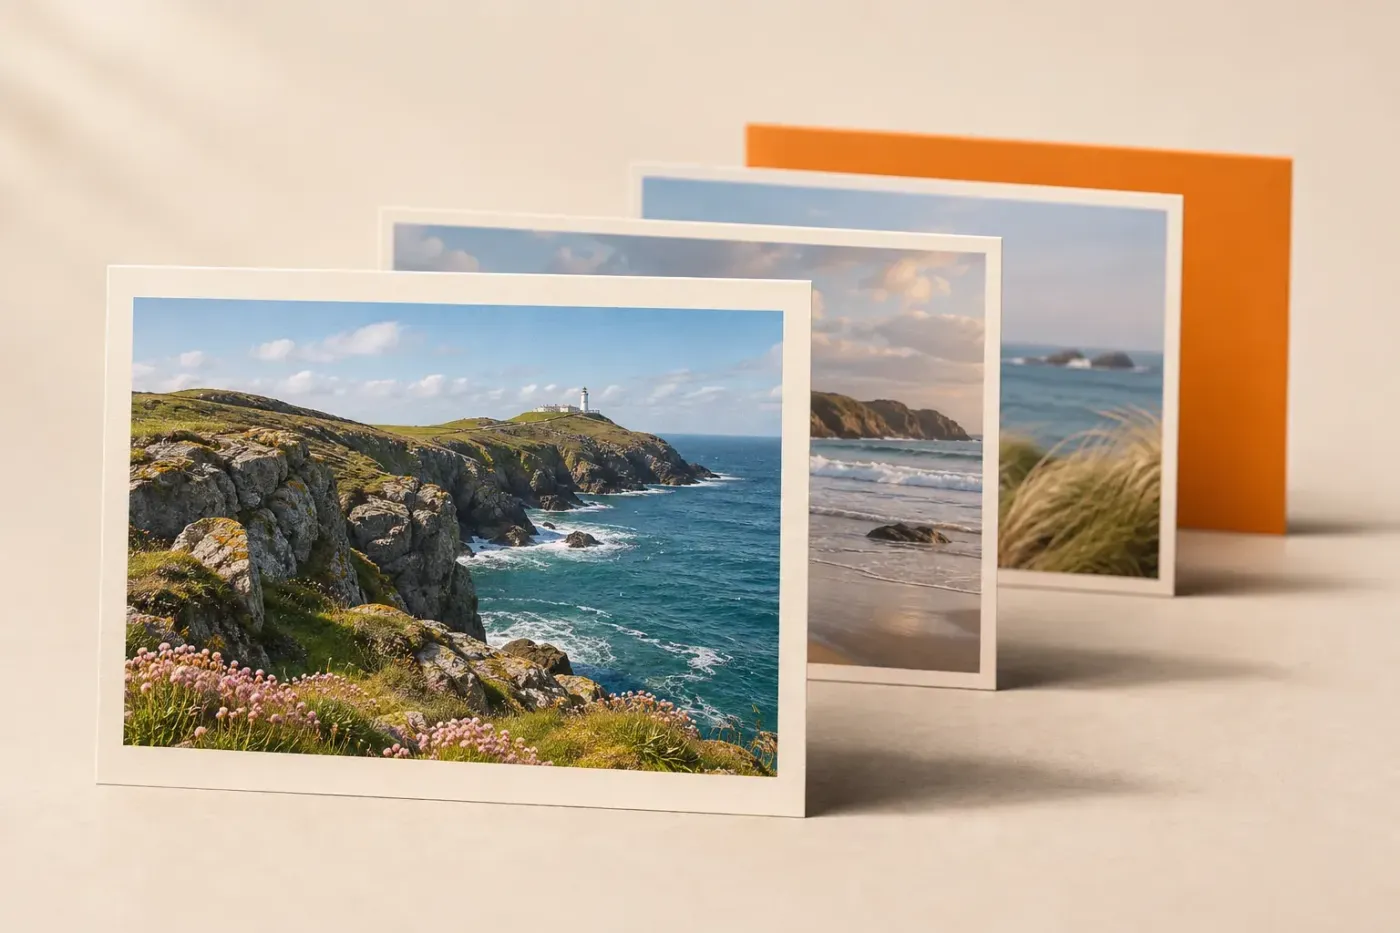
To change GIMP's canvas size without stretching the picture, choose Image → Canvas Size, enter the final width and height, set the image's position and click Resize. Leave Resize layers at None and Resize text layers off to keep the existing layer boundaries and editable text. I'd add a separate background layer for a coloured border, because the photograph, lettering and border can then be changed independently.
Set the canvas to an exact pixel size
Start by saving a separate XCF copy of the layered project. Then follow these steps in GIMP 3:
- Open Image → Canvas Size. The dialog shows the current canvas dimensions.
- Choose px as the unit. Click the chain beside Width and Height to unlink them if the new canvas needs a different aspect ratio.
- Enter the final width and height. For example, to take a 1200 × 800 canvas to 1400 × 1000, type 1400 and 1000, rather than the 200-pixel increase.
- Click Center for equal opposing margins. For space on a particular side, enter the X and Y offsets described below. You can also drag the image within the dialog's preview.
- Set Resize layers: None and leave Resize text layers unchecked. Review the preview, especially any text near the edges.
- Click Resize. The visible area changes; the photograph retains its pixel scale. Continue to the background steps if you want to fill the new space.
The Canvas Size controls change the visible area without resampling the picture. Unlinking that dialog's chain only lets you enter the two canvas dimensions independently. It won't squash the photograph.

Choose the command that matches the change
GIMP uses several kinds of size. A canvas is the document's visible rectangle; each layer also has its own boundary inside or beyond that rectangle.
| What you need | Command |
|---|---|
| More or less visible space around the composition | Image → Canvas Size |
| The whole picture and composition made larger or smaller | Image → Scale Image |
| One imported picture made smaller inside a fixed canvas | Layer → Scale Layer |
| A selected layer's boundary extended to the canvas | Layer → Layers to Image Size |
| A different printed size or resolution, with the same pixels | Image → Print Size |
Scale Image changes the pixel count and scales the composition. Use the image-resizing workflow when that is your goal. For an oversized pasted object, keep the canvas at the required delivery size and use the layer-resizing steps; enlarging the canvas would change the document instead.
For print, Print Size changes physical dimensions and resolution without resampling. Canvas Size cannot change resolution. Work in pixels for the examples here so that inches, millimetres and print resolution don't obscure the margin calculation.
Add equal, unequal or one-sided margins
In Canvas Size, X is the old canvas's left edge measured from the new canvas's left edge. Y measures the same displacement down from the top. These offsets reposition the existing composition together, rather than just moving the selected layer.
For added space, calculate the dimensions from the old canvas, not from a smaller layer inside it:
- New width = old width + left margin + right margin.
- New height = old height + top margin + bottom margin.
- X = left margin; Y = top margin.
For example, a photograph filling a 1200 × 800 canvas needs 1400 × 1000 for a 100-pixel border all round. Click Center; X and Y become 100. The calculation adds 100 pixels at both ends of each dimension.
To make the same final canvas asymmetrical, enter X = 50 and Y = 150. That leaves 50 pixels left, 150 right, 150 above and 50 below. The photograph is still 1200 × 800.
For a caption strip only below that original image, use a 1200 × 1000 canvas with X = 0, Y = 0. All 200 extra pixels go below. To add 200 pixels only on the left instead, use 1400 × 800 with X = 200, Y = 0. Don't click Center after entering one-sided offsets: it would redistribute the space.
These examples assume the photograph fills the original canvas. If it already has transparent padding, your new margin surrounds that padding too. Check the old composition before calculating a photographic border.
Make the new space transparent or coloured
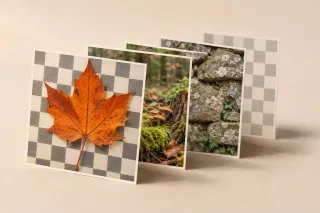
With the layer boundaries unchanged, newly exposed space outside every existing layer is transparent. GIMP displays it as a checkerboard. Changing the toolbox background colour alone doesn't fill it, and painting on the smaller photo layer can't reach a region outside that layer.
For transparency, leave the area empty and use PNG when you export. For a white or coloured border, I prefer this separate-layer route because it preserves the photograph and live text:
- After enlarging the canvas, select one existing layer in the Layers dialog. Selecting several would create several new layers.
- Choose Layer → New Layer and name it Border background.
- Check that Width and Height match the new canvas, with Offset X = 0 and Offset Y = 0. For the equal-border example, that is 1400 × 1000.
- Use Mode: Normal, Opacity: 100% and Fill With: White. For another colour, set the toolbox background colour first and choose Background color instead.
- Create the layer, then move it below every artwork layer and group in the Layers dialog. Check that every edge and corner has the intended colour.
The New Layer settings initially use the canvas dimensions and place the layer above the selected layer, so check both its size and its final position in the stack. A background at the top would cover your work. Keep it separate in the XCF so you can recolour it or hide it for a transparent export later.
Extend a layer only when you need to paint on it
If you want to paint directly into the added space on an existing pixel layer, select that layer and choose Layer → Layers to Image Size. The command changes the selected layers' boundaries to match the canvas while leaving their contents in place. It doesn't enlarge a small object to fill the canvas. In older GIMP instructions the label is singular, Layer to Image Size.
Fitting a pixel layer's boundary to the canvas can trim any content already outside the canvas, even when the opposite edge is being extended. Keep the separate master before changing boundaries.
Within Canvas Size, All layers, Image-sized layers and All visible layers under Resize layers change the boundaries of the applicable layers; they aren't scaling methods. Fill with applies to the extended parts of resized layers, which explains why it is disabled when None is selected and text-layer resizing is off.
Leave Resize text layers off for editable lettering. GIMP warns that resizing text layers makes them uneditable. A separate border background avoids that trade-off.
Fit the canvas to existing layers or a selection
Choose Image → Fit Canvas to Layers to reveal content that extends beyond the current canvas. The command fits the canvas around the layers; it doesn't scale an imported photograph down into a fixed document.
Check for oversized or displaced layers first, including hidden ones. GIMP's fit-to-layers calculation includes all layer bounds, so selecting one small layer doesn't restrict the result to that layer. Transparent padding inside a layer boundary can also leave more empty canvas than you expected.
If you've already marked a precise rectangle, choose Image → Fit Canvas to Selection. It sets the canvas to the selection's dimensions. The canvas stays rectangular even if the selection is irregular; this command doesn't cut out the selected shape or erase the other layer pixels.
I'd use explicit Canvas Size dimensions for a required delivery format. Fit commands are useful when the existing content or selected rectangle should determine that format.
Resize the visible area by dragging
For a visual estimate of extra space, use the Crop tool with Allow Growing. It gives you an adjustable rectangle rather than handles on the canvas border itself.
- Activate Tools → Transform Tools → Crop, or press Shift+C.
- In Tool Options, turn Selected layers only off and Allow Growing on. Leave Delete cropped pixels off to retain the existing layer pixels outside a smaller crop. Turn Fixed off if it constrains the rectangle to an unwanted size or ratio.
- Drag a crop rectangle, then drag its sides or corners beyond the image for extra space. Adjust Position and Size in Tool Options if the framing needs exact values.
- Press Enter to apply. Fill added transparent space with the separate background method above.
The Crop tool options provide the growing rectangle and numeric fields. In whole-image mode the canvas follows that rectangle; Delete cropped pixels controls trimming the layer content, as shown in GIMP's crop implementation. Keep that switch off when you want recoverable framing. For detailed composition work, follow the crop workflow.
Reduce the canvas without losing your master
Open Canvas Size, enter the smaller dimensions and position the old image inside the preview. For example, a centred change from 1200 × 800 to 1000 × 600 gives X = −100, Y = −100: 100 pixels fall outside each edge. Leave Resize layers: None and text resizing off, then apply.
The cropped framing hides off-canvas parts of those layers. It doesn't prove that the hidden material has been deleted from an editable XCF. If the new framing is wrong, undo it while the document is still open, or use Fit Canvas to Layers to reveal retained layer content. That command can't restore pixels already removed by layer trimming.
Keep an earlier master rather than relying on undo after reopening: XCF doesn't save undo history. If you're removing private information, don't send a layered master merely because the sensitive area is outside its canvas. Export the intended image and reopen the exported file to check the visible result.
Check the result and resolve the remaining mismatch
- The other dimension changes as you type: unlink the Width/Height chain in Canvas Size, then enter both final values again.
- The picture itself changed shape or size: check whether you used Scale Image or Scale Layer. Canvas Size leaves the pixel scale unchanged; the commands are not interchangeable.
- The margin stays checkerboard or won't accept paint: check the layer boundary. Add a full-canvas background, or deliberately extend the intended pixel layer with Layers to Image Size.
- The background covers the photograph: move the background below the artwork. If the margins are uneven instead, check the Canvas Size offsets and preview; changing a background colour doesn't reposition the photograph.
- Fit Canvas to Layers creates an unexpectedly large document: inspect hidden layers and outlying layer boundaries, rather than repeatedly scaling the image.
- The text stops being editable: undo the layer resize while that action is available, then repeat with text-layer resizing off. Reopening an already rasterised XCF won't recover its earlier undo history.
Save the editable version as XCF and use File → Export As for the delivered image; saving and exporting preserve different information. Use PNG for a transparent surround. Reopen the export and check its final pixel dimensions, all four margins, border colour and transparency.

Elena Morris
Elena Morris is the GIMP image-editing and compositing editor at TheGIMP.net. She writes about selections, masks and layers, restrained retouching, compositing and export.