GIMP eraser not working: fix the cause by its symptom
Match the eraser symptom to the right check: alpha, layer or mask, selections, locks and brush settings. Keep the original editable and verify the PNG.
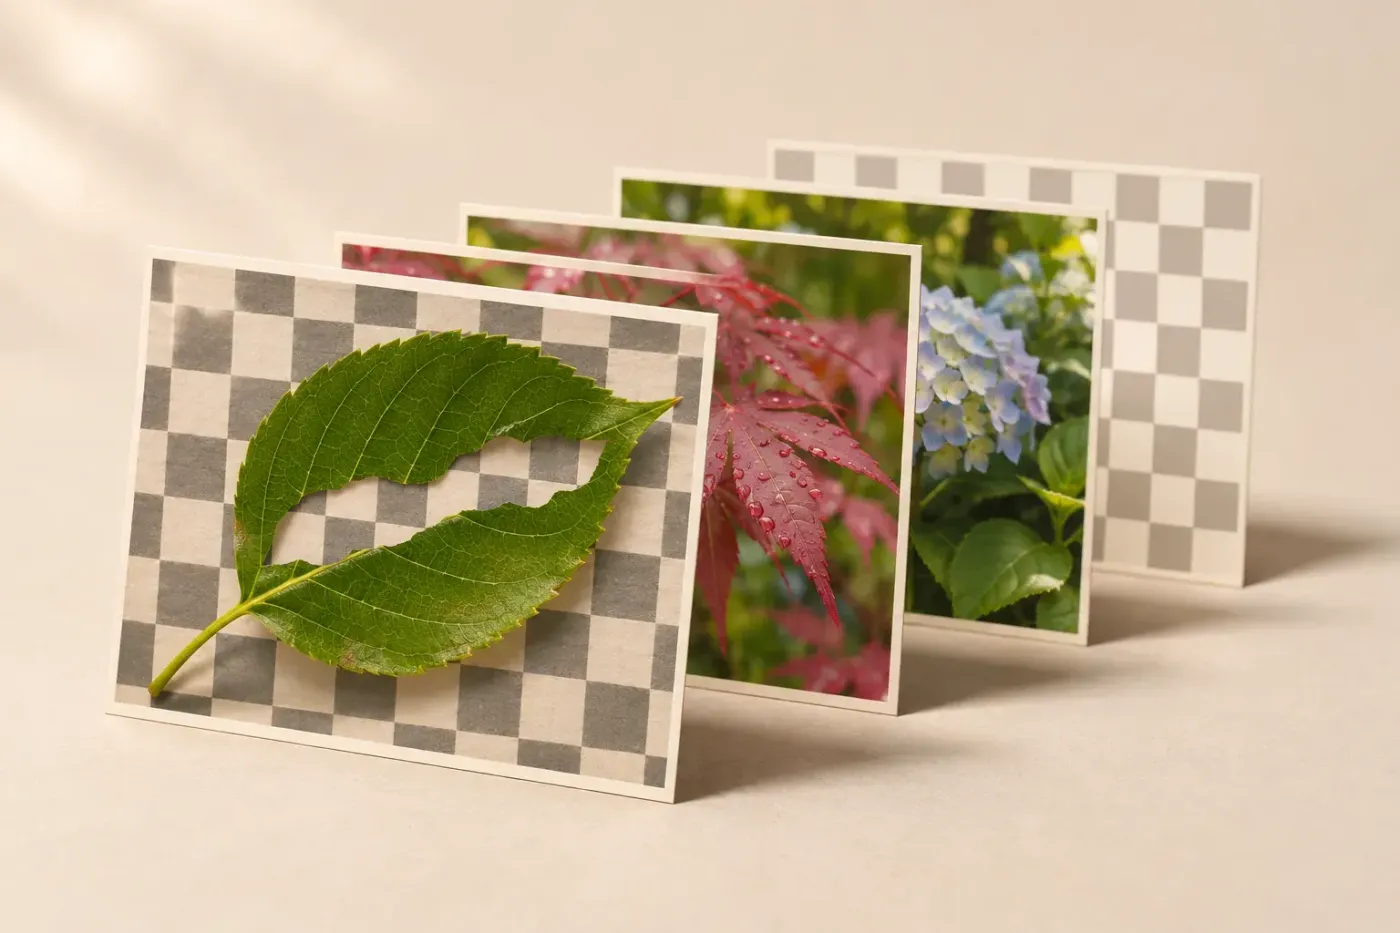
If GIMP's eraser paints white or another solid colour, select the image layer and choose Layer > Transparency > Add Alpha Channel. If the stroke changes nothing, check the selected layer, its locks and any selection before changing the brush. For a faint stroke, check Eraser opacity, dynamics and Hard edge. I'd follow the symptom first: adding transparency won't repair an empty brush or a stroke aimed at the wrong thumbnail.
Match the symptom to the first useful check
| What you see | First check | What confirms the result |
|---|---|---|
| White, black or another colour replaces the image | Add Alpha Channel on the image layer | With lower layers hidden, the erased area shows the transparency checkerboard |
| Absolutely nothing changes | One visible pixel layer, image thumbnail, selection and locks | A short stroke affects the intended layer |
| Only a small area erases | Select > None, then check the layer boundary | The stroke works inside the layer beyond the old selection |
| A faint image or soft fringe remains | Eraser opacity, brush, dynamics, Force and Hard edge | A plain diagnostic stroke clears the intended area |
| A different picture appears underneath | Hide the lower layers briefly | The erased layer is transparent; another visible layer had filled the opening |
| Erasing restores pixels | Turn Anti erase off and release modifier keys | The next stroke removes visibility rather than restoring it |
| The problem appears only in the exported JPEG | Export a PNG instead | The reopened PNG retains the intended transparent area |
Before making more strokes, save a separate XCF copy and keep an untouched layer when you need a reliable way back. XCF doesn't preserve Undo History after reopening. For a cutout you'll refine later, I'd use a layer mask because it keeps the hidden pixels available while you adjust the edge.
Fix an eraser that paints white instead of transparency
- Select the affected layer in Windows > Dockable Dialogs > Layers. If its row also contains a mask, click the image thumbnail.
- Choose Layer > Transparency > Add Alpha Channel, or right-click the layer and choose the same command.
- If Add Alpha Channel is unavailable because alpha already exists, move on to the lock and target checks below.
- Hide visible layers underneath temporarily. Make one short eraser stroke inside the image, inspect the opening, then choose Edit > Undo if the stroke was only a check.
The alpha channel stores the layer's transparency. It isn't a separate transparent layer underneath the photograph. On a layer without alpha, the Eraser replaces pixels with the current background colour, which can be white, black or something else. With alpha, the same tool can make the layer partially or fully transparent.
That transparency reveals whatever is below. If you see a white background layer or another photograph, the eraser may already be working. Hiding those layers is the useful check; repeatedly adding alpha won't change what the lower layer contains.

For white around an entire logo, the white-background removal workflow deals with pale edge pixels more deliberately. Keep this page for diagnosing the tool rather than erasing every background pixel by hand.
Make sure the stroke reaches the intended pixels
Open Layers and select only the row containing the object you want to erase. GIMP 3 supports multiple selected layers, but brush tools require a single selected layer. Read any status-bar warning before making more changes: it can identify a blocked target directly.
Check the eye icon beside that layer. An opaque layer above it can conceal a successful stroke, so hide the covering layer briefly and inspect again. An invisible target won't show the edit on the canvas.
A row with two thumbnails has two different targets. The image thumbnail edits the layer's pixels; the mask thumbnail edits its mask. If your aim is direct erasing, click the image thumbnail. If your aim is masking, use the Paintbrush with black to hide and white to reveal. A layer mask controls the layer's visibility, and it doesn't behave like an alpha-enabled pixel layer when you use Eraser on it.
Expand a layer group and select its individual image layer. GIMP reports “Cannot paint on layer groups” when the group itself is the target. Also check the layer's boundary: a layer can be smaller than the canvas. A stroke outside that layer has no pixels to remove. Selecting the right object is more useful than enlarging every layer as a blanket fix.
Remove a selection restriction, then inspect the locks
Choose Select > None and try the same small area again. This clears the image selection, including a tiny selection you overlooked. Turning off View > Show Selection only hides the selection outline; the restriction still exists. A selection belongs to the image, so switching layers doesn't clear it.
If the Layers dialog explicitly lists a floating selection, handle that separately. Select None doesn't affect floating selections. With the floating selection active, choose Layer > To New Layer to keep the pasted object independent. The New Layer command changes to To New Layer while a floating selection exists. Anchoring it attaches it to another layer, so don't anchor merely to silence the warning when keeping the objects separate is the goal.
In GIMP 3.2, click the affected layer's lock column to inspect the controls. Turn off Lock pixels to permit brush edits, and turn off Lock alpha channel to permit transparency changes. The two locks protect different properties: painting colour successfully doesn't prove that the layer's transparency is unlocked.
Lock position and size protects moving and transforming. Clearing that lock alone won't release a pixel or alpha lock. I'd leave unrelated protections alone once the intended layer accepts the stroke.
Restore a plain, full-strength eraser stroke
Choose Tools > Paint Tools > Eraser, or press Shift+E. Double-click the Eraser tool icon to open its Tool Options. Check the controls while Eraser is active; the Paintbrush has its own settings.
- Choose a normal solid round brush. Avoid Clipboard Image for diagnosis: an empty clipboard brush has nothing to apply, even if you can see a cursor outline.
- Set the Eraser's Opacity to 100. This is the tool's strength, distinct from the layer opacity slider.
- Turn off Enable dynamics temporarily in GIMP 3. In GIMP 2.10, choose the Dynamics Off preset. This removes pressure-linked size or opacity behaviour from the check.
- Check Force. A value of 50 is the neutral reference; values below it reduce the brush's effect, while higher values can strengthen it.
- Enable Hard edge for a clean diagnostic stroke, and make sure Anti erase is off.
The manual identifies the empty clipboard brush as a cause of no visible response. Its paint-tool controls explain Force and dynamics: dynamics can affect a mouse too, and increasing Force isn't a universal repair for every brush.
In a published discussion of faint erasing on scanned music, the author reported that raising Force to 100 removed the residue. A later reply pointed out that the default 50 should already erase fully under ordinary conditions. I'd use that report as a reason to inspect the settings, rather than assume that every working eraser requires Force 100.

Hardness changes the brush's hard centre. Hard edge specifically prevents partial erasure caused by sub-pixel placement at the stroke edge, even with a hard brush. The Eraser reference distinguishes that edge behaviour. Turn Hard edge off again when you want a soft blend; a jagged cutout isn't a useful cure for a soft fringe.
Turn off Anti erase, and be careful with recovery
If erased pixels reappear, inspect Anti erase near the bottom of Tool Options and release held modifier keys. The manual lists Alt as a temporary Anti Erase modifier, with system-specific interception possible. Using the visible checkbox avoids confusing a keyboard modifier with a brush defect.
Anti Erase increases alpha to reveal stored colour data on an alpha-enabled layer. It can restore visibility where Eraser changed alpha, but it isn't a general recovery tool for pixels destroyed by later edits, a flattened background or a saved JPEG. While the editing session is still open, use Undo promptly after an unwanted stroke. Keep the untouched layer for recovery that must survive closing the project.
Keep a pasted object separate from its background
If erasing the pasted object also damages the base image, inspect the layer stack before continuing. Once both objects share the same pixel layer, the eraser has no separate object boundary to respect. Undo the merge or anchoring operation while that history remains available, then keep the object on its own layer.
For an image stored in another file, File > Open as Layers provides a clear separate-layer route. Select that new layer, check alpha, and erase or mask only its edge. This addresses the practical failure described in the pasted-object discussion without merging the picture first.
If it still fails, separate an image problem from an input problem
Create a temporary new image, put an obvious mark on a normal visible pixel layer, add alpha if needed, and try the plain eraser settings above. This is a check for you to perform, with the original project kept open and saved.
If Eraser works there, return to the original image's selected thumbnail, locks, selection, group and layer bounds. If both Eraser and Paintbrush fail across images, recheck their brush and dynamics settings, then compare input devices. With a tablet, compare the pen tip, its reverse end and the mouse: GIMP can assign different tools to the two stylus ends.
Record the GIMP version, input device and visible status message before asking for help. Include the Layers and Eraser Tool Options panels in your own support screenshot. A backed-up settings reset is a later step when a problem follows the configuration across images; don't delete your profile or reinstall as the first response to a locked layer.
Check the transparent export before closing the project
Save the editable XCF, then choose File > Export As for a PNG copy. JPEG doesn't support transparency, so a white or black background appearing only in that export is a format issue.
Reopen the PNG as a separate image, check that the erased area remains transparent, and inspect the edge against light and dark backgrounds. If the hole shows the intended transparency and the edge holds up at the delivery size, keep the XCF and finish the edit. The checkerboard itself is a display aid; it shouldn't become a painted background in the exported picture.

Elena Morris
Elena Morris is the GIMP image-editing and compositing editor at TheGIMP.net. She writes about selections, masks and layers, restrained retouching, compositing and export.