Remove a white background in GIMP from logos, signatures and scans
Use Color to Alpha on clean white paper, restrict it to protect inner white details, and adjust grey scans without losing faint ink. Check the edges and export PNG.
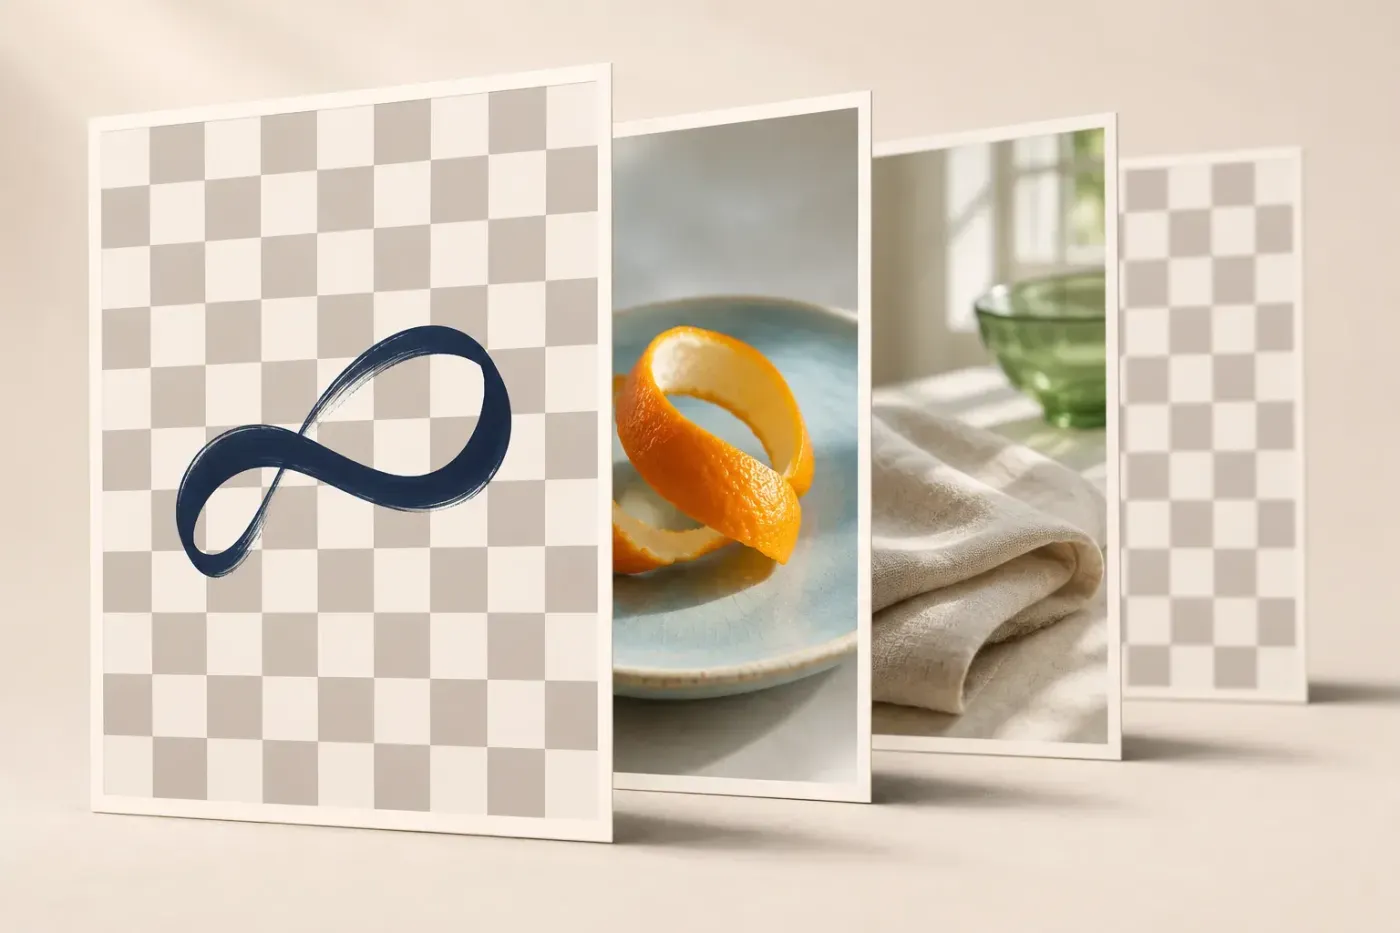
To remove a white background in GIMP, add an alpha channel and use Colors → Color to Alpha with white selected, then export a PNG with alpha. This works well for dark signatures and line art on clean white paper. If the artwork contains white lettering or pale details, select only the unwanted background before running the filter; otherwise those details can disappear too.
I'd start with Color to Alpha for ink because it can preserve the soft transition at the edge of a stroke. For a white product or a logo with white elements, I'd protect the subject first. The important choice is whether white belongs to the paper, the artwork, or both.
Choose the route that fits your image
| What you have | Start here | Watch for |
|---|---|---|
| Black signature or dark line art on even white | Color to Alpha on the picture layer | Soft edges should remain; grey strokes may become translucent |
| Logo or object with intentional white details | Fuzzy Select the surrounding white, then restrict Color to Alpha to that selection | White subject details must stay outside the selection |
| Grey paper or a lightly shaded scan | Levels on a working copy, followed by Color to Alpha | Whitening the paper can also erase faint pencil marks |
| Uneven paper shadow, creases or a white subject merging into white | Separate the subject with a selection or mask | One global colour adjustment cannot distinguish identical tones by meaning |
This page deals with removing paper and white backdrops from graphics. For hair, fur or a busy photograph, use the broader background removal workflow. A colour filter can't supply a missing subject boundary.
Keep an untouched source before removing paper
- Open the original image with File → Open. A JPEG is a valid starting file; the finished transparent image will use a different format.
- Open Windows → Dockable Dialogs → Layers. Select the picture layer, right-click it and choose Duplicate Layers. Hide the original using its visibility icon, make sure the duplicate is visible, and work on the duplicate. An opaque original left visible underneath will hide the transparency you create.
- If the image is Indexed, switch to Image → Mode → RGB for this colour-editing workflow. Keep the original file separately.
- Click the duplicate's picture thumbnail, rather than a mask thumbnail. Choose Layer → Transparency → Add Alpha Channel if available, and turn off Lock alpha channel on the working layer.
- Choose Select → None to clear a leftover selection. Use File → Save As to save a named XCF project before continuing.
An alpha channel stores layer transparency; adding one doesn't identify or remove white pixels. Keep the XCF because it preserves the editable project, while exporting creates a separate delivery file.
Remove clean white paper with Color to Alpha
Use this route when the white throughout the image is unwanted paper and there are no white subject details to protect.
- Select the working picture layer and choose Colors → Color to Alpha.
- Right-click the filter's colour swatch and choose White. For off-white paper, turn Preview off, sample an unmarked part of the original paper with the eyedropper, then turn Preview back on.
- Begin with Transparency threshold = 0 and Opacity threshold = 1. Inspect the paper, the palest wanted stroke and the edge of a dark stroke.
- If the paper disappears but wanted grey ink becomes too transparent, adjust the opacity threshold as explained below. If near-white specks remain, examine the transparency threshold or use the scan route.
- Leave Merge Filter unchecked to keep this adjustment editable, then accept the filter. Check the cutout over contrasting fills before exporting.
The Color to Alpha filter changes colour and transparency together, preserving antialiasing through partially transparent edge pixels. That's useful for curved lettering and signature strokes: deleting every nearly white pixel can leave an unnecessarily hard boundary.
In GIMP 3, an unmerged effect can be reopened through the layer's fx icon and edited with Edit Layer Effects. Layer effects are saved in XCF. Reopen the existing Color to Alpha effect to refine it; adding a second copy makes the adjustments harder to judge.
Use the two thresholds for different problems
| Problem | Change | Trade-off |
|---|---|---|
| Paper-coloured noise remains | Raise Transparency threshold gradually | More colours near the chosen paper colour become fully transparent, including faint marks that share those tones |
| Wanted grey ink becomes translucent | Lower Opacity threshold gradually | More colours farther from the paper become fully opaque; pale paper residue may become harder to remove |
The default thresholds are 0 and 1. They aren't a universal finishing recipe. A soft shadow may need partial transparency, while a grey logo shape may need to stay opaque. I'd stop adjusting when the intended mark reads correctly over its destination background, rather than forcing every remaining pixel to full opacity.

Keep the two goals separate. Increasing Transparency threshold removes more pale content; lowering Opacity threshold keeps more surviving content opaque. Neither control can recognise which of two identical grey pixels is pencil and which is paper.
Keep white lettering and other white subject details
A global white removal also affects white inside the artwork. For a coloured badge with a white symbol, restrict the operation to the outer background before applying it.
- Start from the untouched duplicate, before global Color to Alpha. If you've already removed the wanted detail, undo that operation or remove its editable effect. If the original pixels were changed and the undo history is gone, return to the original file or hidden source layer.
- Choose Tools → Selection Tools → Fuzzy Select. Use Replace mode for the first selection, enable Antialiasing and leave Feather edges off initially. Turn Sample Merged off so the tool samples the working picture.
- Click the outer white paper. Adjust Threshold until the selection reaches the unwanted background without spreading into the subject. Use Add mode for separate unwanted pockets, such as paper inside a letter, and inspect each pocket before including it.
- Keep intentional white details outside the selection. With the background selected, run Color to Alpha, choose White and preview the edge. Leave the filter editable, accept it, then choose Select → None.
Fuzzy Select follows connected similar colours, which helps when a coloured border separates an inner white symbol from the surrounding paper. By Color Select finds similar pixels throughout the image, so it can also select the white symbol you meant to keep. I'd use it only when every matching area is unwanted, or after deliberately protecting the subject.
If white clothing or lettering touches the white background, Fuzzy Select can cross the join. Stop widening its threshold and define the subject boundary with a selection or editable layer mask. A mask uses black to hide the layer and white to reveal it; the mask's white represents visibility, not white paint in the picture.
For a hard-edged graphic where the selected region should simply be empty, Edit → Clear is an alternative to the filter. Clear makes the selected area transparent when the layer has alpha. Check which side is selected: if you've selected the subject, choose Select → Invert before clearing the background. Don't invert a background selection again.
Fix a white rim without shrinking the whole design
Inspect the graphic over a dark fill. A narrow white rim can be leftover paper at the selection boundary, whereas translucent coloured edge pixels may be the antialiasing you need to keep.
Return to the state before the removal, rebuild the background selection and use Select → Grow cautiously if the selection stopped short. Grow expands the selected region, so an outer-background selection grows into the subject edge. Then repeat the removal and compare the result. There's no safe pixel amount for every logo: thin lettering can lose its shape before a large graphic shows an obvious change.
Don't keep expanding and clearing an already damaged result. Reopen the editable effect for a threshold change; for a different selection boundary, remove the old effect or undo the removal before rebuilding it. Leave Feather edges off initially for crisp artwork: feathering blurs the selection boundary, and a broad fade can make small type look weak.
Whiten grey paper before removing it
Grey paper, JPEG noise and a scanned page's light shadow can survive a filter set to pure white. For dark ink on fairly even grey paper, I'd correct the paper on a fresh working duplicate first. Stop if the correction starts erasing the marks you're trying to extract.
- Return to the pre-removal source. Hide the old working result, make a fresh duplicate of the original, show that duplicate, select its picture thumbnail and choose Select → None.
- Open Colors → Levels and select Value. In Input Levels, move the white-point control towards the paper tones until the unmarked paper becomes white. Alternatively, use the white-point eyedropper to sample an unmarked paper patch.
- Compare the palest wanted strokes with the original. Back off if fine pencil, a pale wash or a signature's light upstroke disappears. Don't use the Output Levels white control for this correction.
- For this fresh-duplicate route, enable Merge Filter and accept Levels, committing the paper correction to the duplicate. Keep the untouched original hidden.
- Add alpha to the duplicate if needed, then apply Color to Alpha with White selected. Adjust its two thresholds separately and check the result over dark and light fills.
The Input Levels white point maps that tone and brighter tones to white. Output Levels compresses the output range instead. Paper correction must happen before white removal; committing Levels on a disposable duplicate makes that order explicit. If you keep both adjustments as live effects, GIMP renders the effect list from the bottom upwards, so Levels must feed Color to Alpha.
Uneven shadows need more care. A global correction strong enough to erase the darkest paper shadow may also erase light ink elsewhere. Protect the artwork with a selection or mask and correct separate paper regions, or start with a better scan. When the original contains no tonal separation, a stronger threshold cannot recover it.
Threshold is a deliberate black-and-white conversion. It suits artwork that should contain only black and white, but the Threshold tool removes the original antialiasing. I wouldn't use it as the default fix for a soft signature, shaded drawing or coloured logo.
Check the cutout on light and dark backgrounds
A checkerboard shows empty areas in the editor, but it doesn't tell you whether every edge is suitable for the final design.
- Set a dark foreground colour, choose Layer → New Layer and set Fill with to Foreground color. Move that layer below the working cutout in Layers. Keep the untouched original hidden.
- Inspect the white lettering, pale strokes, narrow gaps and outer edge. The dark fill makes leftover white paper easier to spot.
- Make a second light test fill below the cutout and toggle the fills' visibility. Look for dark crumbs, missing detail and a grey rectangular paper remnant. Check both a close view and the intended display size.
- Hide all test fills and the original layer before export. Only the layers intended for the final transparent image should remain visible.
The New Layer dialog can fill from the foreground colour, and the Layers dialog controls visibility and stacking. If the canvas still looks white, check for a visible white layer underneath before changing the removal settings again.
Export the transparent PNG and reopen that file
- Save the XCF project. Keep its original source, working layer and editable effects.
- Choose File → Export As, use a new name ending in .png, and select a known destination folder.
- In the PNG options, use a Pixel format that includes alpha. RGB with alpha is appropriate for coloured artwork. Preserve a full-colour alpha route for smooth, partially transparent edges.
- Export, then use File → Open to reopen that exact PNG. Add a contrasting fill below it and confirm that the removed paper reveals the fill while intended white details remain opaque.
- Import the same PNG into the document, website or design that needs it. If the reopened file works but the destination looks wrong, check the destination's background and import/export handling before editing the cutout again.
PNG export offers pixel formats with or without alpha, and its compression is lossless. A JPEG can't carry the transparency: JPEG export doesn't support an alpha channel. Don't use Flatten Image to prepare this transparent result, because flattening removes alpha and fills transparent areas.
Removing white doesn't require resizing or cropping. If you need a tighter file, use Tools → Selection Tools → Rectangle Select to draw a new selection around the artwork, leaving a margin around delicate strokes. Then choose Image → Crop to Selection, export the PNG again and reopen the new file. That changes the image bounds across its layers; do it only when the original canvas dimensions aren't needed. For a file that still seems opaque after export, follow the transparent PNG checks.
Keep the editable XCF and deliver the verified PNG. The finished result should retain the mark's intended weight and white details, with the paper gone over the background where the image will be used.

Elena Morris
Elena Morris is the GIMP image-editing and compositing editor at TheGIMP.net. She writes about selections, masks and layers, restrained retouching, compositing and export.